One issue that came out that I never got around to fixing till now was the creation of the .FAIL file that is generated if the server has a problem or there is some sort of incompatibility between library systems, such as pin, city name, password length, etc. There is also an issue with the service stopping without notice; which also creates a .FAIL file as shown below.
The OptionKey is a Technology blog. How to tips and useful documentation on Apple, Microsoft, Open Source Project.
Wednesday, July 13, 2022
Using Powershell to send an email alert when a file type is found
Tuesday, June 28, 2022
How to get the SQL Express Offline Installer
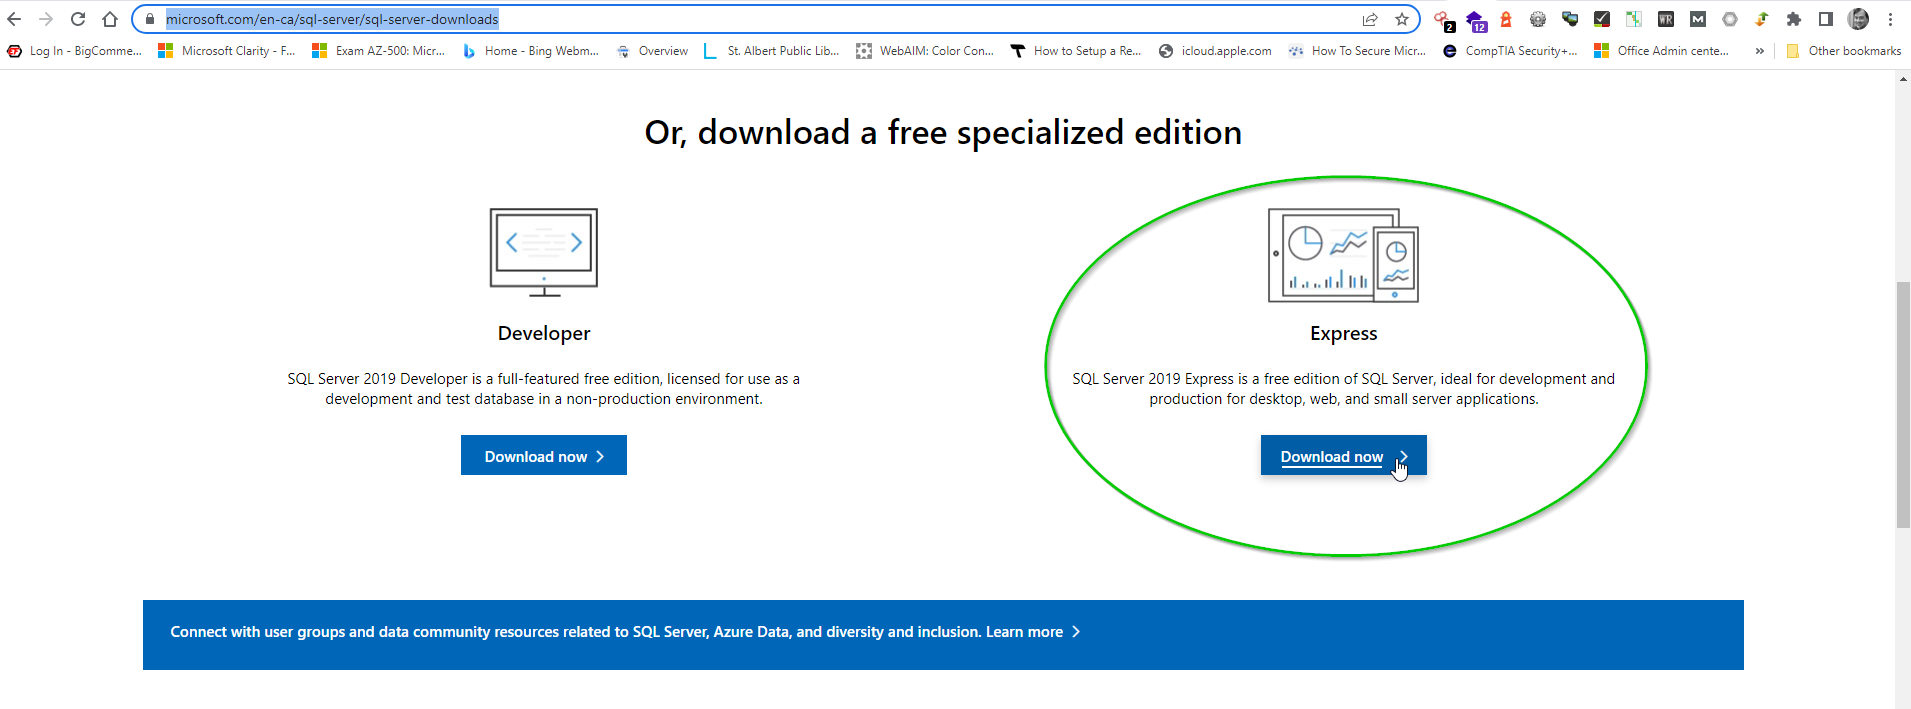
To get the offline install of SQL Server in this case we are going to use Express 2019, we need to go to https://www.microsoft.com/en-ca/sql-server/sql-server-downloads
https://www.microsoft.com/en-ca/sql-server/sql-server-downloads
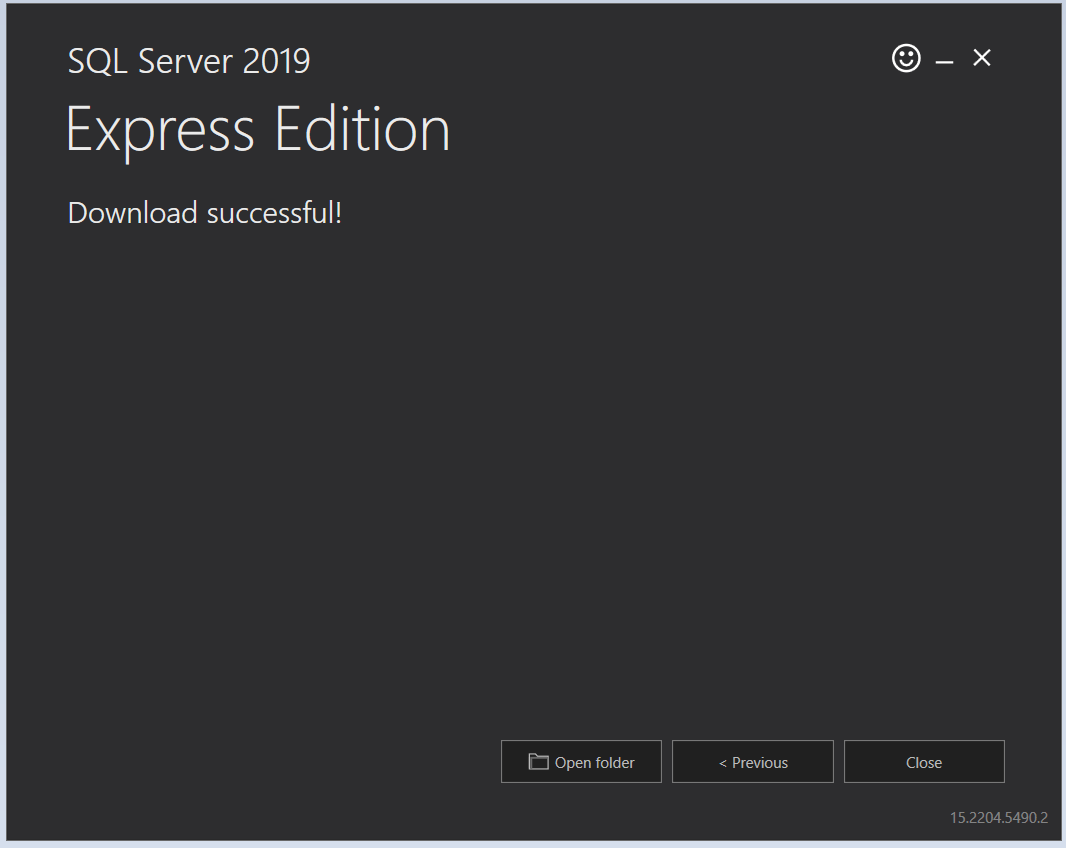
When you download the Express download you will get a Application download called SQL2019-SSEI-Expr.
After pressing download; it will download to the directory where you have specified it to download. In my case C:\Users\Trevor Tye\Downloads
Tuesday, June 07, 2022
How to find the Windows Product Key using Powershell
I have had the need recently to get the product keys from some new windows laptops. Now automated ticketing systems such as Lansweeper and Solarwinds can scan for these keys and there are free tools to save these keys to txt files such as MagicJellyBean Keyfinder. However what I eventually want this to do is put the data into a Microsoft 365 or google workspaces spreadsheet. This is because I have to inventory some non-domain connected systems and there is not ticketing/inventory system on the network.
The way I have the scripts working together is I have a bat file which runs the powershell script. The first thing the powershell script does is runs the CDKey.vbs script. Then the powershell script appends the rest of the key data to the text file generated by CDKey.vbs. You can see the code for the 3 scripts below.
Option ExplicitDim objshell,path,DigitalID, ResultSet objshell = CreateObject("WScript.Shell")'Set registry key pathPath = "HKLM\SOFTWARE\Microsoft\Windows NT\CurrentVersion\"'Registry key valueDigitalID = objshell.RegRead(Path & "DigitalProductId")Dim ProductName,ProductID,ProductKey,ProductData'Get ProductName, ProductID, ProductKeyProductName = "Product Name: " & objshell.RegRead(Path & "ProductName")ProductID = "Product ID: " & objshell.RegRead(Path & "ProductID")ProductKey = "Installed Key: " & ConvertToKey(DigitalID)ProductData = ProductName & vbNewLine & ProductID & vbNewLine & ProductKey'Save Data to a fileSave ProductData'Convert binary to charsFunction ConvertToKey(Key)Const KeyOffset = 52Dim isWin8, Maps, i, j, Current, KeyOutput, Last, keypart1, insert'Check if OS is Windows 8isWin8 = (Key(66) \ 6) And 1Key(66) = (Key(66) And &HF7) Or ((isWin8 And 2) * 4)i = 24Maps = "BCDFGHJKMPQRTVWXY2346789"DoCurrent= 0j = 14DoCurrent = Current* 256Current = Key(j + KeyOffset) + CurrentKey(j + KeyOffset) = (Current \ 24)Current=Current Mod 24j = j -1Loop While j >= 0i = i -1KeyOutput = Mid(Maps,Current+ 1, 1) & KeyOutputLast = CurrentLoop While i >= 0If (isWin8 = 1) Thenkeypart1 = Mid(KeyOutput, 2, Last)insert = "N"KeyOutput = Replace(KeyOutput, keypart1, keypart1 & insert, 2, 1, 0)If Last = 0 Then KeyOutput = insert & KeyOutputEnd IfConvertToKey = Mid(KeyOutput, 1, 5) & "-" & Mid(KeyOutput, 6, 5) & "-" & Mid(KeyOutput, 11, 5) & "-" & Mid(KeyOutput, 16, 5) & "-" & Mid(KeyOutput, 21, 5)End Function'Save data to a fileFunction Save(Data)Dim fso, fName, txt,objshell,UserNameSet objshell = CreateObject("wscript.shell")fName = ".\ProductKey.txt"Set fso = CreateObject("Scripting.FileSystemObject")Set txt = fso.CreateTextFile(fName)txt.Writeline Datatxt.CloseEnd Function
The powershell script is run from a bat file which sets the Powershell script bypass for running the powershell script.start-process -FilePath "CDKey.vbs" -Wait -Passthru$SLS = wmic path SoftwareLicensingService get OA3xOriginalProductKey$RLS = Get-ItemPropertyValue 'HKLM:\SOFTWARE\Microsoft\Windows NT\CurrentVersion\SoftwareProtectionPlatform' -Name BackupProductKeyDefault$SLSKey = $SLS.Split(" ",[System.StringSplitOptions]::RemoveEmptyEntries)$DPID = Get-ItemPropertyValue 'HKLM\SOFTWARE\Microsoft\Windows NT\CurrentVersion\DefaultProductKey2' -Name DigitalProductId$EditionID = Get-ItemPropertyValue 'HKLM\SOFTWARE\Microsoft\Windows NT\CurrentVersion\DefaultProductKey2' -Name EditionIdfunction ConvertTo-ProductKey {param ([parameter(Mandatory = $True, Position = 0)]$Registry,[parameter()][Switch]$x64)begin {$map = "BCDFGHJKMPQRTVWXY2346789"}process {$ProductKey = ""$prodkey = $Registry[0x34 .. 0x42]for ($i = 24; $i -ge 0; $i--) {$r = 0for ($j = 14; $j -ge 0; $j--) {$r = ($r * 256) -bxor $prodkey[$j]$prodkey[$j] = [math]::Floor([double]($r/24))$r = $r % 24}$ProductKey = $map[$r] + $ProductKeyif (($i % 5) -eq 0 -and $i -ne 0) {$ProductKey = "-" + $ProductKey}}$ProductKey}}$x = Get-ItemProperty 'HKLM:\SOFTWARE\Microsoft\Windows NT\CurrentVersion' -name DigitalProductId$key = ConvertTo-ProductKey $x.DigitalProductId$prodKey = "Windows Backup Product Key Default: $RLS `nOEM Software Licensing Service Key: $SLSKey `nDigital Product ID Windows Key: $key"Add-Content .\ProductKey.txt $prodKey
@ECHO OFFPowershell.exe -executionpolicy remotesigned -File ./Get-ProductKey.ps1
The resulting file output looks like this
It has worked well on the half dozen machines I tried it on and I will update this post once I get the Microsoft 365 and Google Workspaces integration working. I have the 3 files running from a directory you can place anywhere on the machine you are wanting to inventory. In this case I have it in a folder called "Find Product Key" which is on my desktop. If you download the zipped files listed below all you have to do is run the "RunProdKey.bat" file and it will put the generated file in the same folder and it is called ProductKey.txt
Wednesday, May 18, 2022
How to download old versions of Mac OS X
I have a 27" sandybridge iMac; which is a perfectly capable machine; I could load and run the latest version of Windows, Linux just fine. Apple however has decided to drop support for these machines; they are more then 10 years old but for 99% of what they are used for it is fine; I don't really see why apple hasn't included these in their code base besides wanting people to buy new vendor locked in hardware. I digress; things are what they are.
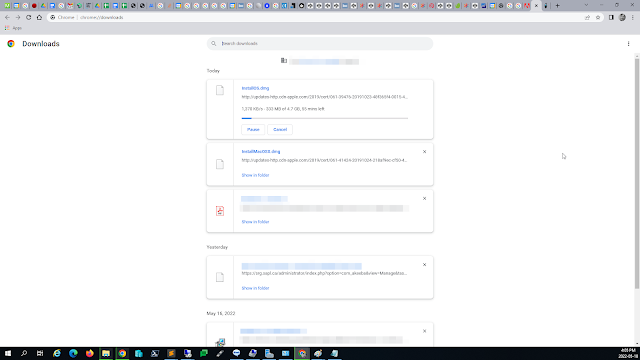
On a computer with a browser you will want to copy the links and paste them in your URL bar. It is highly recommended to be using some sort of mac for this. The OS will download as InstallMacOSX.dmg or MacOS.dmg I personally rename it to the version I have downloaded and adjust my script for making the USB boot disk. I was the kind of guy to buy EVERY release of OS X and I do have from OS 9 to Snow Leopard (my favorite version).
The following links below require the apple apps store to download the DMG images for Mac OS 10. The OS images affected are Mac OS High Sierra to Big Sur require the safari browser to accesses the Apple App Store on MacOS. Safari finds the old installers in the App Store and allows you to download them. After you download the installer from the App Store, the installer opens automatically.
- macOS Big Sur can upgrade Catalina, Mojave, High Sierra, Sierra, El Capitan, Yosemite, Mavericks
- macOS Catalina can upgrade Mojave, High Sierra, Sierra, El Capitan, Yosemite, Mavericks
- macOS Mojave can upgrade High Sierra, Sierra, El Capitan, Yosemite, Mavericks, Mountain Lion
- macOS High Sierra can upgrade Sierra, El Capitan, Yosemite, Mavericks, Mountain Lion
Pre-High Sierra can be downloaded on any computer but you have to copy and paste the full link which I have below the bulleted version.
The older installers allows other browsers to download them as a disk image named InstallOS.dmg or InstallMacOSX.dmg respectively. On a Mac the Open the disk image, then open the .pkg installer inside the disk image. It installs an app named Install [Version Name]. Open that app from your Applications folder to begin installing the operating system.
- macOS Sierra can upgrade El Capitan, Yosemite, Mavericks, Mountain Lion, or Lion
http://updates-http.cdn-apple.com/2019/cert/061-39476-20191023-48f365f4-0015-4c41-9f44-39d3d2aca067/InstallOS.dmg - OS X El Capitan can upgrade Yosemite, Mavericks, Mountain Lion, Lion, or Snow Leopard
http://updates-http.cdn-apple.com/2019/cert/061-41424-20191024-218af9ec-cf50-4516-9011-228c78eda3d2/InstallMacOSX.dmg - OS X Yosemite can upgrade Mavericks, Mountain Lion, Lion, or Snow Leopard
http://updates-http.cdn-apple.com/2019/cert/061-41343-20191023-02465f92-3ab5-4c92-bfe2-b725447a070d/InstallMacOSX.dmg
Powershell Script To Download and Convert Images to JPG
The following powershell script is for downloading and converting images from PNG and TIFF format to JPG. The CSV file looks something like this.
The script is pretty simple, download files then convert them from TIF to PNG then to JPG
Here is the script
#This script downloads all the images converts them to JPG files for a website.
#first import the CSV File
$CSVFILE = Import-CSV -Path downloadImgs.csv
#Get the length of the url
$CSVFILE | ForEach-Object {$_.'Image'.length}
#Get the length of the url
$CSVFILE | ForEach-Object {$img = $_.'Image'.substring($_.'Image'.length, 5)}
#Get the file Ext
$CSVFILE | ForEach-Object {$_.'Image'.Substring(($_.'Image'.length-9), 4) }
#Save Image File List Replace the website URL with the URL you want to point to. You can use this for having a list of items downloaded or if your importing them in a bulk process
$CSVFILE | ForEach-Object { "https://yourwebsite.com/images/$location"+,-join ($_.'Image')+,".jpg"} | Out-File imageURLs.txt
#Download Image and rename the image to the Name in the CSV file
$CSVFILE | ForEach-Object { Invoke-WebRequest -Uri $_.'Image' -OutFile (-join ($_.'Name'+, $_.'Image'.Substring(($_.'Image'.length-9), 4))) }
#Download if just a JPG image hosted on a website. Name it by Name value and add jpg extension.
$CSVFILE | ForEach-Object { Invoke-WebRequest -Uri $_.'Image' -OutFile (-join ($_.'Name'+,".jpg")) }
function ConvertTIF-To-PNG
{
[cmdletbinding()]
param([Parameter(Mandatory=$true, ValueFromPipeline = $true)] $Path)
process{
if ($Path -is [string])
{ $Path = get-childitem $Path }
$Path | foreach {
$image = [System.Drawing.Image]::FromFile($($_.FullName));
$FilePath = [IO.Path]::ChangeExtension($_.FullName, '.png');
$image.Save($FilePath, [System.Drawing.Imaging.ImageFormat]::PNG);
$image.Dispose();
}
}
}
#Use function:
#Cd to directory w/ TIF files
cd .\
#Run ConvertTIF-To-JPG function
Get-ChildItem *.tif | ConvertTIF-To-PNG
#Remove TIF Files once converted
Remove-Item * -Include *.tif
#once all the tiff files are converted convert PNG to JPG
function ConvertTo-Jpg
{
[cmdletbinding()]
param([Parameter(Mandatory=$true, ValueFromPipeline = $true)] $Path)
process{
if ($Path -is [string])
{ $Path = get-childitem $Path }
$Path | foreach {
$image = [System.Drawing.Image]::FromFile($($_.FullName));
$FilePath = [IO.Path]::ChangeExtension($_.FullName, '.jpg');
$image.Save($FilePath, [System.Drawing.Imaging.ImageFormat]::JPEG);
$image.Dispose();
}
}
}
#Use function:
#Cd to directory w/ png files
cd .\
#Run ConvertTo-JPG function
Get-ChildItem *.png | ConvertTo-JPG
#REMOVE PNG FILES
Remove-Item * -Include *.png
Tuesday, May 03, 2022
How to logout of windows desktop from command line - (tsdiscon)
Background: I had setup a windows machine that I setup to be used as a papercut print terminal. I had removed all logout options on windows as you can see below on the start menu.
So for making changes such as adding things like scheduled tasks you have to login to the admin account, and to do that you use the tsdiscon command from a powershell or cmd window.

Which will then log you out of windows and you can login as any account you have active on the machine, in this case the admin account as shown below.
Thursday, April 28, 2022
Google EMM Update Causes Organization Email Issues on Android
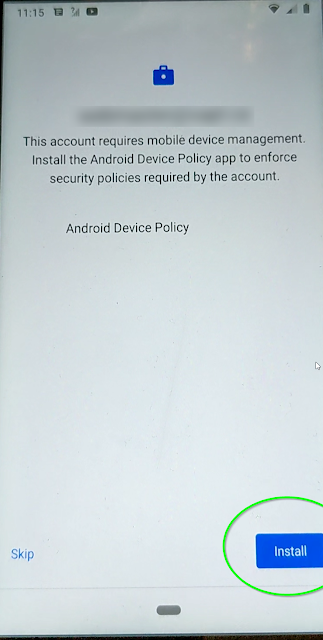
Thank you for contacting Google Workspace Support. This is ****** and I will be assisting you about how to fix the sync error you are encountering due to the old Device policy app that you are still using for your Android device. It is a pleasure assisting you.
Resolution: If the device is for work and personal use:
How do I switch to the Android Device Policy from the Google Device Policy app? If your device is for work and personal use and it "has a work profile":
My device is for work and personal use and "doesn’t have a work profile":
Please check this help article for reference for the above steps: About Android Device Policy: https://support.google.com/a/
***** |
https://www.blog.google/products/android-enterprise/da-migration/
https://developers.google.com/android/work/device-admin-deprecation
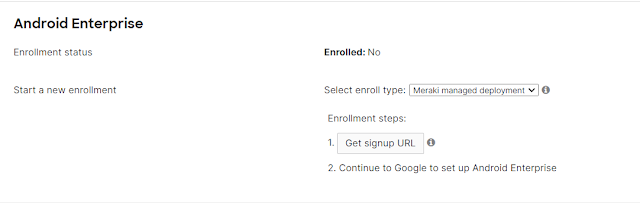
To resolve the issues I removed the EMM provider so google workspaces would handle the MDM for android; as there can't really have a separation of the two anymore it seems.
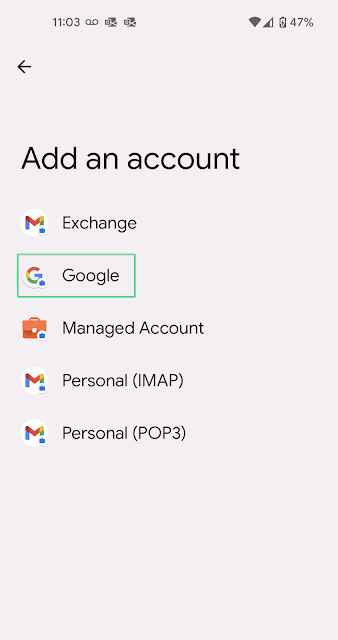
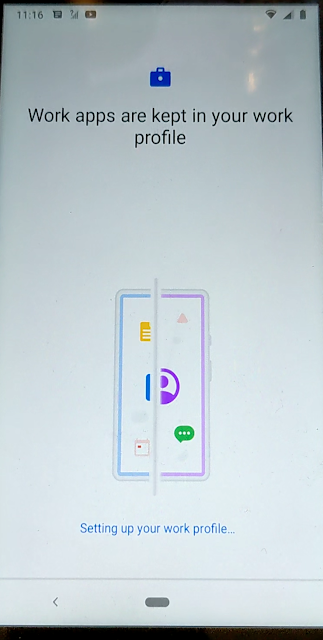
Once that was done after a few minutes I was able to start to get my work profile working correctly from google by adding a work profile. Here are the universal settings for how android devices are setup.
Remove your current work account from your device, Please note that you will only be able to have one work account associated with a device at a time (so if you need other accounts you will have to find a work around)
1 - Add the account by pressing the arrow next to your name and email.
3 - Select Google for the Account.
4 - Enter in your Email and Password
5 - Accept the Terms Of Use
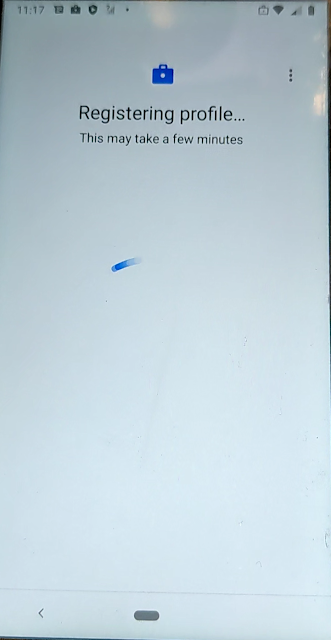
8 - Create your google work profile. It will take about 5 to 10 minutes to create the work profile. So Please be Patient.
When it is finished it should show you the added account.
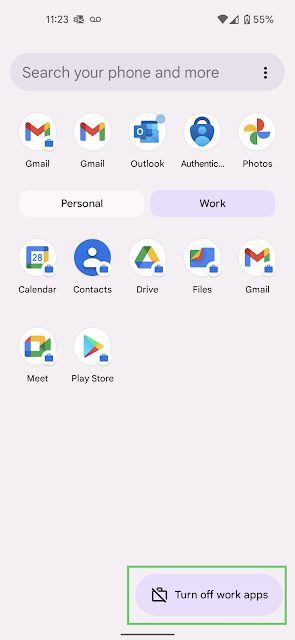
Now you will have two different apps. Work Apps and Personal Apps.
Work apps can be paused (turned off) which will stop notifications from reaching you which can be enabled or disabled from the apps drawer.
In your Gmail app you can switch from personal and work email easily but you have to go from the account icon in the top right to switch.
I understand why google set things up like this; putting the separation between work and personal settings, making it easier to wipe devices, and remove access, etc. It isn't as "user friendly" as I would have liked it to be and it will be a transition for some users.
Friday, April 01, 2022
Whitelisting access to the Igloo Action Button
What is the Igloo action button?
The action button gives you access to administrative tools for each page and various features within the digital workplace. These tools allow you to edit the current page, view subscriptions, change access and much more.<script type="text/javascript">
//<![CDATA[
switch (Igloo.currentUser.name){
default:
document.getElementById('contentmenu').style.display = 'none';
break;
case "Dylan Hunt":
document.getElementById('contentmenu').style.display = 'visible';
break;
case "Beka Valentine":
document.getElementById('contentmenu').style.display = 'visible';
break;
case "Shamus Harper":
document.getElementById('contentmenu').style.display = 'visible';
break;
case "Trance Gemini":
document.getElementById('contentmenu').style.display = 'visible';
break;
}
//]]>
</script>
Thursday, March 31, 2022
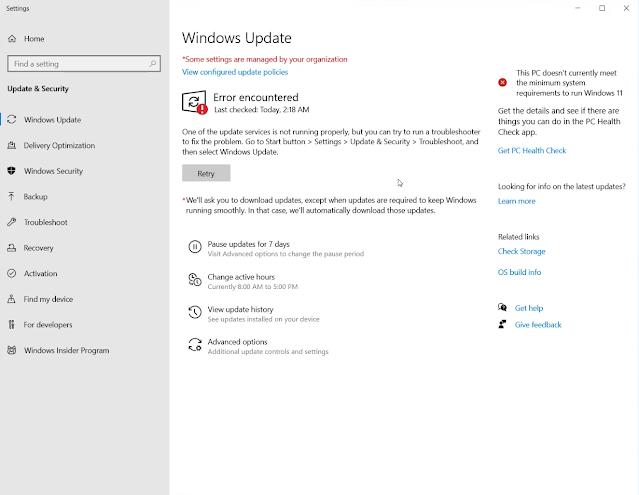
How to disable Windows updates in Windows 10 Pro
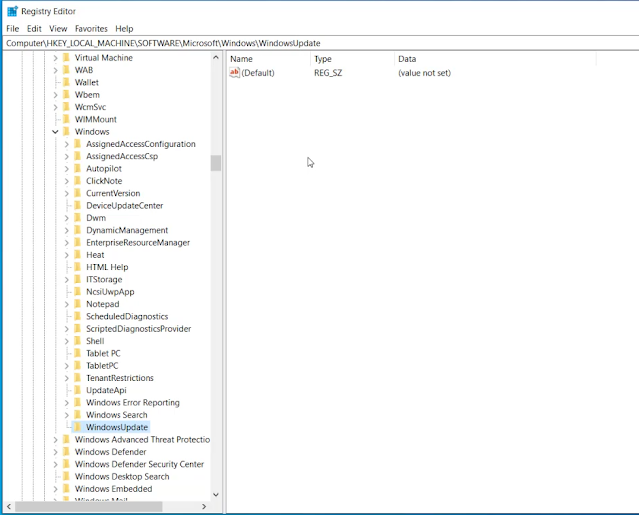
"HKEY_LOCAL_MACHINE\SOFTWARE\Policies\Microsoft\Windows"
Now make another new Key under WindowsUpdate call it AU
- Name the new key NoAutoUpdate and press Enter.
Double-click the NoAutoUpdate key and change its value from 0 to 1.
Right-click the newly created key, select the New submenu, and choose Key and name the new key AU and press Enter
Right-click the AU key, select New and select the DWORD (32-bit) Value and name the new key AUOptions.
- 2 — Notify for download and auto install.
- 3 — Auto download and notify for install.
- 4 — Auto download and schedule the install.
- 5 — Allow local admin to choose settings.
- 7 — Auto Download, Notify to install, Notify to Restart.
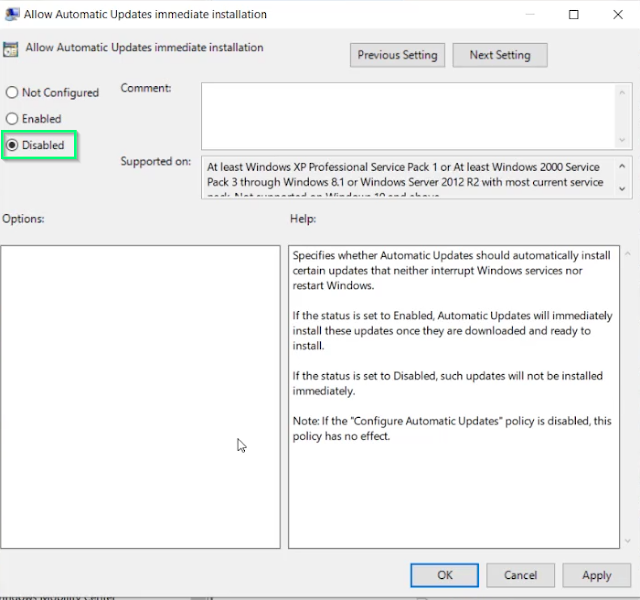
- These options are the same as the Group Policy settings, and option 2 is the closest to disable Windows Update permanently.
That is it your system should no longer receive windows updates. I will be posting a script to apply this shortly. In the mean time I have also produced a video if you want to see the full process https://youtu.be/Iyx1jkMZYKY
Updating your godaddy certs during the G2 intermediate hierarchy to the TLS Root CA - R1 hierarchy
If you use godaddy TLS certificates you should be aware of some changes during the transition from the G2 certificates to the new R1 Certi...
-
When working in a test environment you don't exactly want something to have internet access; so you need to be able to download files in...
-
To see a video of the Rustdesk installation visit https://www.youtube.com/watch?v=t7UobpjDsRY and if you like the content please like and s...
-
Quick guide: Automatic login in Windows 10 Open the Registry Editor using [Windows] + [R] and “regedit” . Enter HKEY_LOCAL_MACHINE\SOF...