Thursday, March 31, 2022

How to disable Windows updates in Windows 10 Pro


Open the services app and disable the windows update service.


Then Right Click and Get the Properties of the Windows Update Service and change the startup type to Disabled.  Then apply the changes and hit ok.


Now we are going to add a registry entries to disable the Windows Update Medic Service 

Open the Registry Editor


Go to "HKEY_LOCAL_MACHINE\SYSTEM\CurrentControlSet\Services\WaaSMedicSvc"


Modify the "Start" DWORD Entry and change it's value to 4


This will disable the Windows Update Medic Service
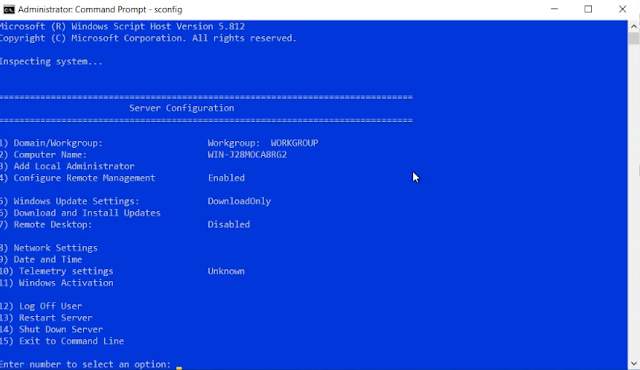
Next we will go to

 "HKEY_LOCAL_MACHINE\SOFTWARE\Policies\Microsoft\Windows"
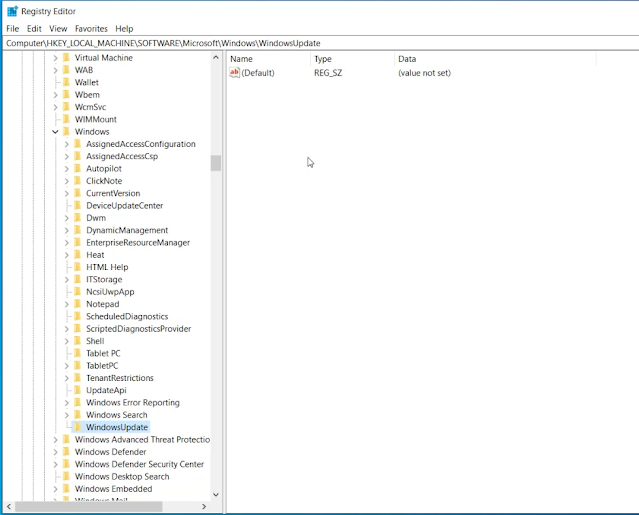
Right click on the Windows folder and select new Key


  1. Name the new key WindowsUpdate and press Enter.


Now make another new Key under WindowsUpdate call it AU


    Right-click the AU key, select the New, and choose the DWORD (32-bit) Value option.


    1. Name the new key NoAutoUpdate and press Enter.


    1. Double-click the NoAutoUpdate key and change its value from 0 to 1.


    Now go to "HKEY_LOCAL_MACHINE\SOFTWARE\Policies\Microsoft\Windows"

    Right-click the Windows (folder) key, select New and choose the Key option. Name the new key WindowsUpdate and press Enter.


    Right-click the newly created key, select the New submenu, and choose Key and name the new key AU and press Enter


    Right-click the AU key, select New and select the DWORD (32-bit) Value and name the new key AUOptions.


    Double-click an AUOptions and change the value to 2:


    The following are the different value for AUOptions
    • 2 — Notify for download and auto install.
    • 3 — Auto download and notify for install.
    • 4 — Auto download and schedule the install.
    • 5 — Allow local admin to choose settings.
    • 7 — Auto Download, Notify to install, Notify to Restart.
    • These options are the same as the Group Policy settings, and option 2 is the closest to disable Windows Update permanently.

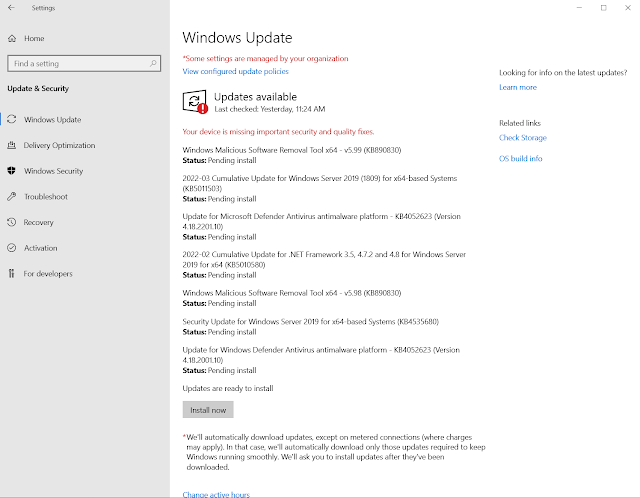
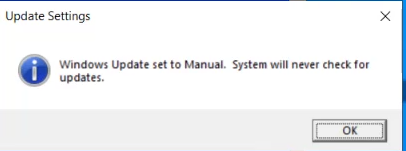
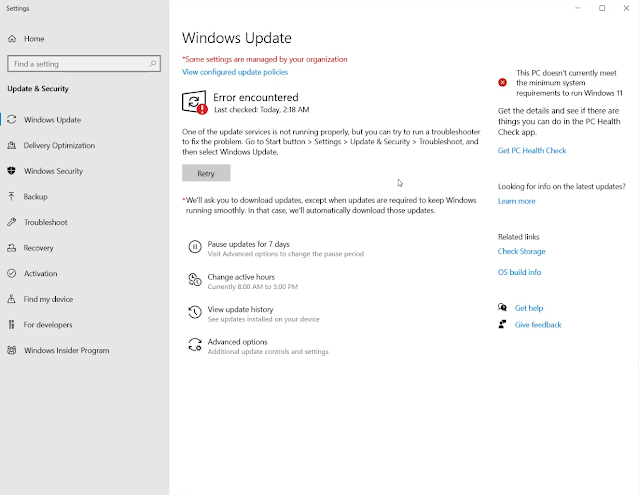
    Now your computer will not be able to update Windows.


    You can leave it here but below are entries you can make to your local group policy.

    Go to "Computer Configuration -> Windows Components -> Windows Update" Open "Configure Automatic Updates"


    Change the setting to "Disabled" and apply the setting then hit ok.


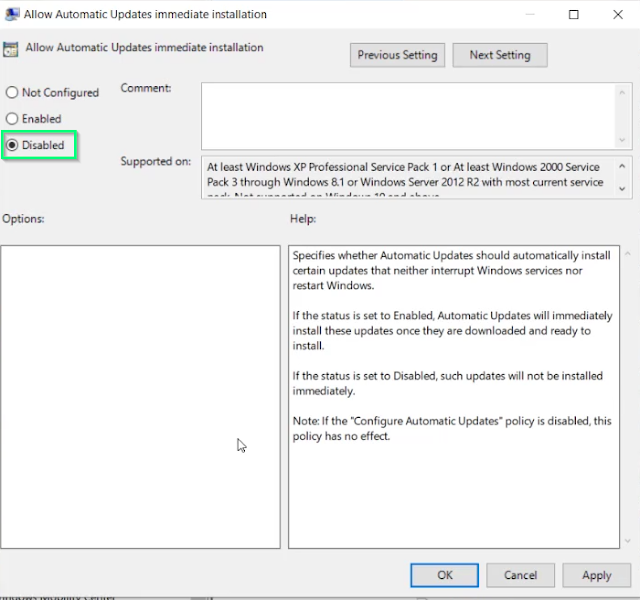
    Next we will edit the "Allow Automatic Updates immediate installation"


    Set the setting to Disabled.  Apply the setting and hit ok.  

    Please note that if you edit the "Configure Automatic Updates" setting and change it to "Disabled" this setting should have NO effect.


    That is it your system should no longer receive windows updates. I will be posting a script to apply this shortly. In the mean time I have also produced a video if you want to see the full process https://youtu.be/Iyx1jkMZYKY

    Thursday, March 10, 2022

    Disable windows server automatic updates

    Automatic updates can be a huge bane for IT Administrators, especially if it is a server you have to have up and you don't have any scale to keep the service up while your reboot servers.  I have some specific server I have to manage that get rebooted at specific times but there are some services that have to shutdown manually or the software on the server gets very cranky.  To that end here is how you go about disabling windows update by changing Windows Update to manual.  By default Automatic updates are automatically configured as shown below.


    There are two snapins we are going to work with SCONFIG and GPEdit an we are going to change all the windows updates to manual.  Type the command SCONFIG in run, powershell, or cmd 

    1 – SCONFIG

    1. Open a CMD PROMPT as an Administrator
    2. Type SCONFIG and press ENTER
    3. Type 5 and press ENTER
    4. Type M for Manual (or D for Download Only) and press ENTER


    When the computer is finished you will get a prompt saying updates are sent to manual.


    GROUP POLICY


    1. Click START and type GPEDIT.MSC and press ENTER (or open the GROUP POLICY MANAGEMENT CONSOLE and open an existing GPO or start a new one)
    2. Expand COMPUTER CONFIGURATION > ADMINISTRATIVE TEMPLATES > WINDOWS COMPONENTS > WINDOWS UPDATE
    3. Double click on CONFIGURE AUTOMATIC UPDATES
    4. Select either DISABLED (equivalent to MANUAL) or ENABLED and select what you would like from the drop down list


    Then hit apply and ok.
    1. Now Double-click "No auto-restart with logged on users for scheduled automatic  updates Installation”


      Select the Enabled option and click “Apply.”

    2. Then enable the Turn off auto-restart for updates during active hours


      That's it.  If you go into your windows update, you should now see the updates are paused.
      That's it Windows updates should be now disabled.

      You can view the YouTube video here.  https://youtu.be/vQ4fBBlbTdA


    Tuesday, March 01, 2022

    Restore a PFSense Backup using the CLI (Command Line Interface)

    This tutorial will go though how to restore a PFSense Configuration though the Command Line Interface (CLI).  You will need a few things before we begin.

    1. A usb drive formatted as FAT32
    2. A backup of your PFSense Config File on the thumb drive.


    Once that is done, and you have your fresh version of PFSense installed and ready to go.


    plug your USB device into the system.


    We see the device is da0, but we will run camcontrol with devlist to verify the USB Drive to do that we will need to enter shell mode by selecting option 8


    Then we will run the command 
    camcontrol devlist


    We can see that da0 is our usb drive, so to see all available partitions we will run 

    ls /dev/da0*

    So we can see a single partition /dev/da0s1 so we need to mount it.  To mount it we will need to make a folder to mount to.  In this case I'm going to make a folder called bak

    mkdir /media/bak


    then using the following command to mount the usb drive to /media/bak

    mount_msdosfs /dev/da0s1 /media/bak


    Then we are going to cd into /media/bak and run a ls to see what files we have on the drive

    cd /media/bak

    LS 


    We find our pfsense backup file now we will copy it to /cf/conf/config.xml overwriting the default config file.  If you so choose you can make a backup of the default config by first doing
     cp /cf/conf/config.xml /cf/conf/config.bak

    I am just going to overwrite the file. To do that I am going to run

    cp /media/bak/mypfsensebackup-20220228051431.xml /cf/conf/config.xml

    This will copy/paste the backup file into the /cf/conf directory and rename the file to config.xml overwriting the file that is currently there.


    Now we will remove the temp file and reboot the system.

    rm /tmp/config.cache


    exit shell 

    exit

    then select option 5 and reboot


    Once you have rebooted your configuration should be applied if there were no issues or compatibility issues.


    How to fix CURL call imporitng an RSS feed on a site blocking CURL calls

    There is a 3rd party service provider that my organization uses called bibliocommons.  They have these nice book carousels.  However the car...