Wednesday, November 10, 2021

Photoshop ippcvm7.dll Error on Hyper-V

Downsizing systems can be hard but to make space virtualization is a great way to go, however sometimes you encounter issues when virtualizing.  For instance I needed to virtualize a machine that was running adobe creative cloud.  Now by default since I use different generation processors, I typically turn on processor compatibility.


However with Adobe Creative Cloud this causes an error that seems to be related to Intel SSE 4.2

https://community.adobe.com/t5/photoshop-ecosystem-discussions/p-error-at-loading-of-ippcv-library-photoshop-22-0-windows-10/m-p/11521776

https://helpx.adobe.com/photoshop/kb/known-issues.html#ErroratloadingofippCVlibrary


The server running the VM is a E5-2680v4 which according to intel Ark, doesn't support the instruction set either. https://ark.intel.com/content/www/us/en/ark/products/91754/intel-xeon-processor-e52680-v4-35m-cache-2-40-ghz.html

However since this machine isn't going to be leaving this virtual server, if you uncheck the Processor Compatibility this enables the requirements for Photoshop and it is able to launch.


With the machine configured with 4 processors, and 16GB of RAM, the user didn't even notice the difference running the VM vs hardware as they were accessing the system with remote desktop.


Tuesday, November 09, 2021

Setting up Dynamic DNS with PFSense and GreenGeeks Web Hosting

One of the things I have been struggling to setup in the last few years was a reliable way of setting up my Domain DNS with my home internet connection.  My ISP (Telus) assigns dynamic IP address, which is typical for many home internet connections.  I was using ddns to handle my vpn url, however reciently I missed the renewal email and I hadn't bothered to set something new up.  I have a greengeeks webhosting account, and use PFSense as my home firewall/router so I decided to have a look at the settings and see what I can setup with the two of these.

The first thing you will want to do is setup the DNS on your GreenGeeks account.

1. Go to Dynamic DNS when you enter the CPANEL


2. Create a new entry


3. Fill Out all the relevant information.  So a good example for this might be vpnconnect.yourdomain.ca where vpnconnect is the subdomain and yourdomain.ca is the domain selected.  You can manually enter in your ip from your firewall here I left mine blank and will be propagated once the URL is put into the PFSense Firewall.


Once Created.  Copy the Dynamic DNS URL, we will need to put it into our PFSense Firewall.


Login to PFSense go to Services -> Dynamic DNS

1. Setup Dynamic DNS


2. Press the + Add Button


3. Select the Service Type to "Custom" and both interfaces should be set to "WAN"


4. Enter in your username and password for your cpanel account.


5. Enter in the URL for updating your Dynamic DNS.  We copied the URL from our Dynamic DNS Settings in the CPANEL


Once you hit SAVE, the firewall should update and your IP will display in the webhost CPANEL and on your PFSense Firewall.  If the IP is green then everything is good, if it is red, then it is not working properly.


Monday, October 25, 2021

PC Reliance receipt printing issue on Windows 10


PC Reliance is a piece of software produced by SirsiDynix and is used for off-line circulation when performing an ILS upgrade or if the ILS is going to be down for a prolonged period of time.  Horizon based libraries have been using this for at least 10 years and the last update for the software was in October 2008.  Under Windows 7, it did not require any changing of the driver default settings.  However if you are running Windows 10 you will have to reconfigure the driver software in this case an Epson TM-T88V.

Going with the default install setting on the Epson TM-T88V, the receipt printer works fine for all applications.  Vend, Horizon ILS Client, notepad, etc.  as shown below.


When you open PC Reliance you don't have many options to configure below is a look at the GUI; and a item put in for checkout so we can do a test print.


However when you try and use PC Reliance you get this when you print the reciept.


The fix is to change the setting on your receipt printer.  Go to your printer right click and select printer properties

Then select Preferences.


Then Select Advanced


By Default, the settings are as follows


You need to change them to the following:

TrueType Font: Substitute with Device Font (Not required to change)

Print Optimizations: Disable


Once that is saved and enabled, your receipt will now print properly.


Friday, October 22, 2021

Meraki MDM - Fixing Invalid Profile when adding device to MDM

 With apple's iOS 15 update, I found I had some issues to fix with some of our organizations iPads, specifically because they are only 16 gb versions; they were out of space.  Also with the pandemic the Push cert was not kept up due to the systems being off.  Resetting and reformatting the ipads ended up being required.  Now these ipads were store bought ipads and not directly purchased from apple; which complicates things.  That caused the ipads to no longer connect to the Meraki MDM due to the bad push certificate and when I tried to re-add them using Apple Configurator 2, I got the invalid profile error.


After a lot of pain and troubleshooting, I had managed to make some progress on getting these ipads re-set up on the Meraki MDM.  After updating them to iOS 15.0.2 I ran the apple configurator which put them in the Apple Business Management center, but would not configure the ipads for use with the MDM.  

An issue that I also found which was causing me some of the grief is these ipads were somehow added to an icloud account, which I need to be removed before I could continue.  After removing the ipads from the iCloud account, I setup the ipads for automated enrollment thought Apple Configurator 2.  Doing this put the ipads into Apple Business Manager but still would not configure the ipads to use the MDM with the push certificate.  

I thought I would try and add them to the Meraki DEP, which I was able to do but this did not help me with getting the ipads setup to be used and updated with the push certificate.  What ended up being the solution was resetting all the certs (again), and setting up the ipads for just supervision with no MDM.  After the iPads were Supervised I was apple to add them to the MDM using Safari and the MDM web link.  I also had to remove the education configuration part of a profile configuration


 I thought this was odd but it was causing the following two errors in the Meraki log which you can see below.

Error: The top-level user “xxxxxxxx-xxxx-xxxx-xxxx-xxxxxxxxxx” is neither a leader nor a member.

Error: The payload “Your Meraki iPad Profile” is invalid.


Ultimately I re-did all the certs between apple business manager and Meraki
  • The Apple configurator certificate
  • the VPP certificate
  • the push certificate
  • DEP certificate.  
Then I removed the education part of the profile and setup the ipads as just supervised devices with no MDM having to add them manually after.   This worked and got the ipads back up in working order.

Connect the ipads to your mac and open Apple Configurator 2 and select the ipad or ipads and select the Prepare


Select Supervise devices and allow devices to pair with other computers.


Select do not enroll in MDM


Select the Organization 


Configure iOS Setup


After the ipad has been supervised, the ipad could be connected to the internet.

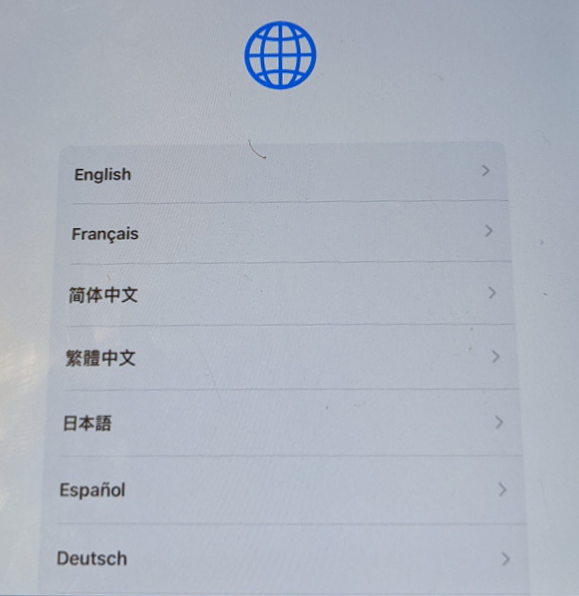
Un-Supervised Device

Once the ipad was supervised, the wifi screen shows up and when connected can then be joined to the MDM by the enrollment URL/Link.  You must use safari to connect to the MDM.
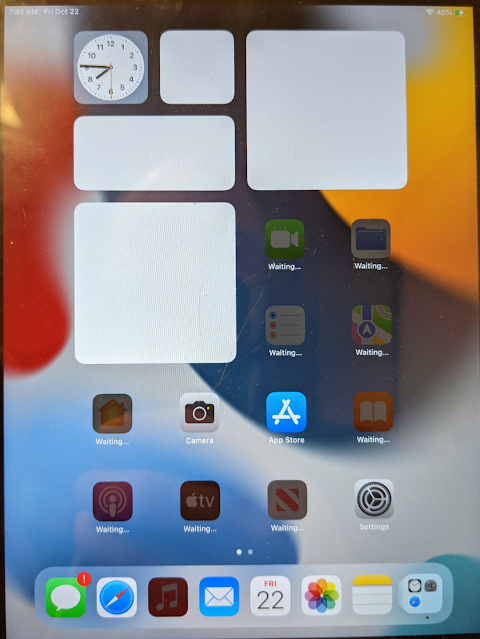
iOS Screen

I was able to use safari get to the enrollment URL/Link to join the MDM and the profiles were applied right away.  However before you do if you have apps that you will want to use that were purchased on a specific profile you will have to sign into the ipad with that account before loading the MDM.  Otherwise you will lose access to those apps.

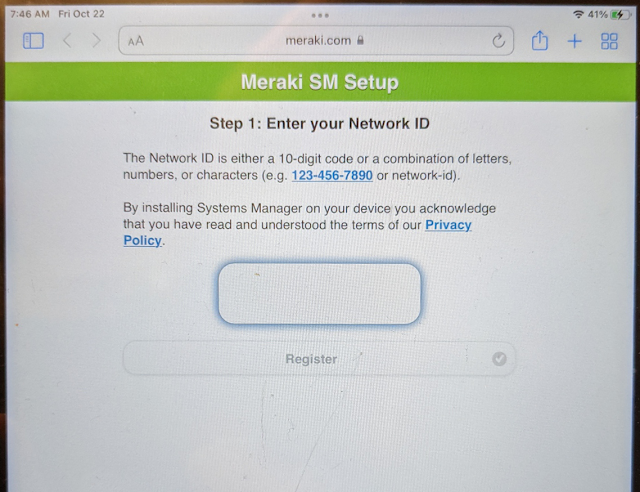
Meraki Network Registration
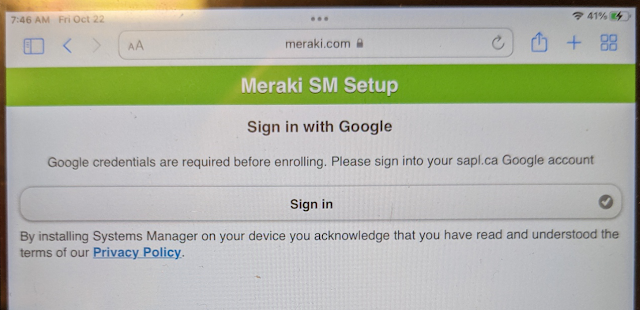
 
Sign in with Google

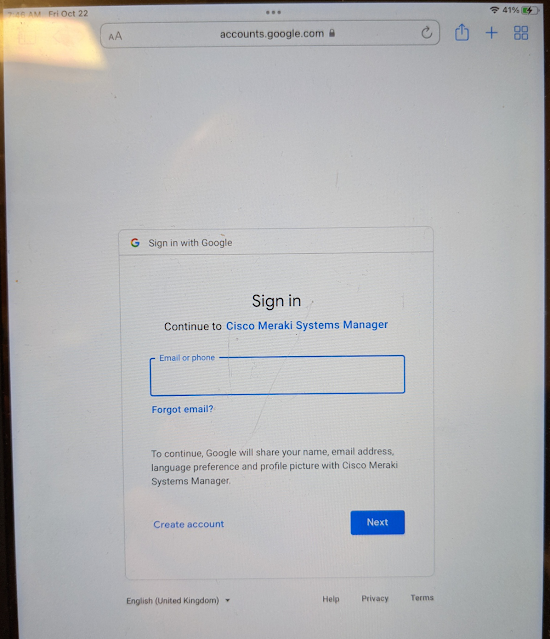
Sign in with a Meraki email.
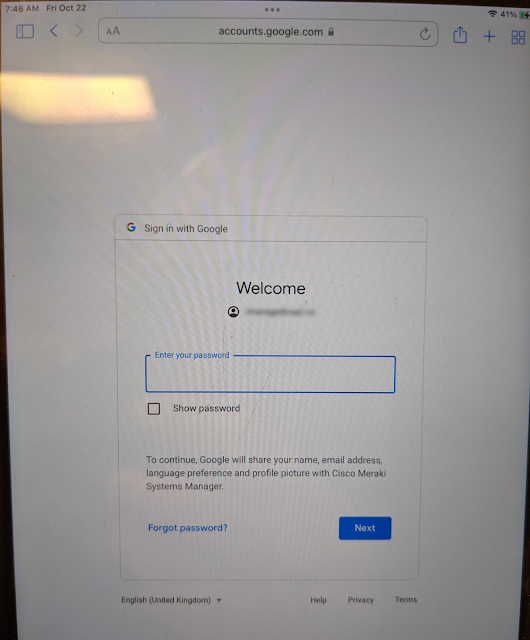
Enter the password

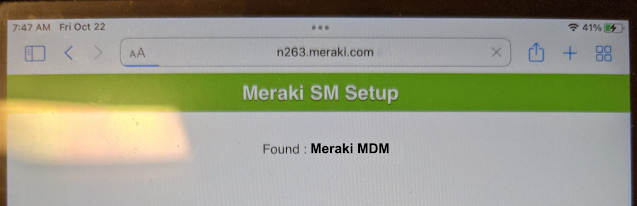
Finds The MDM Network

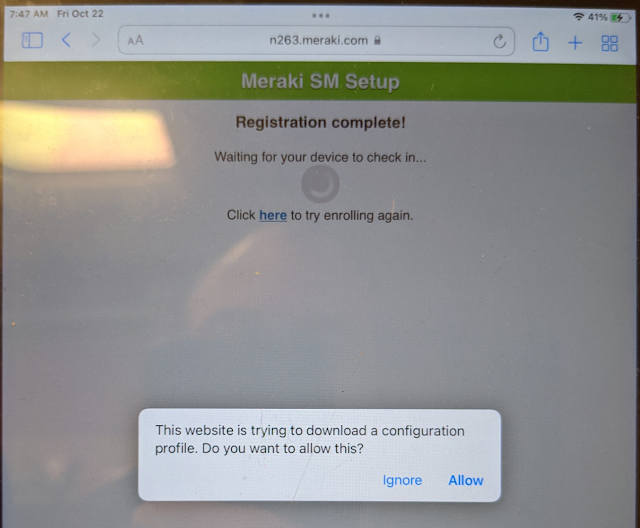
Allow the profile to download to the iPad

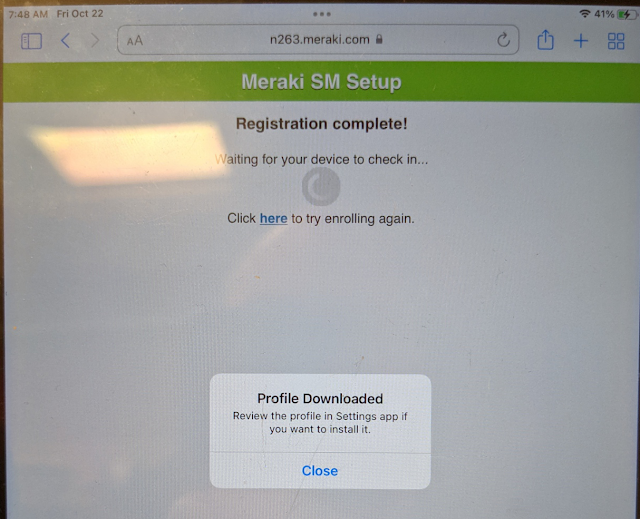
Close the alert and open the settings


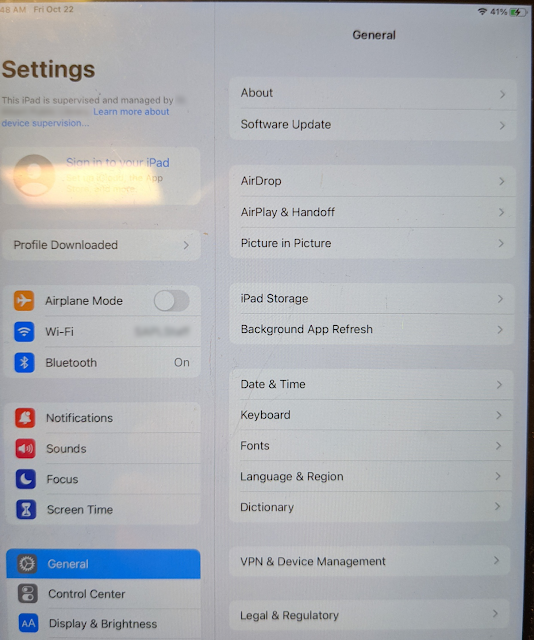
Click on Profile Downloaded
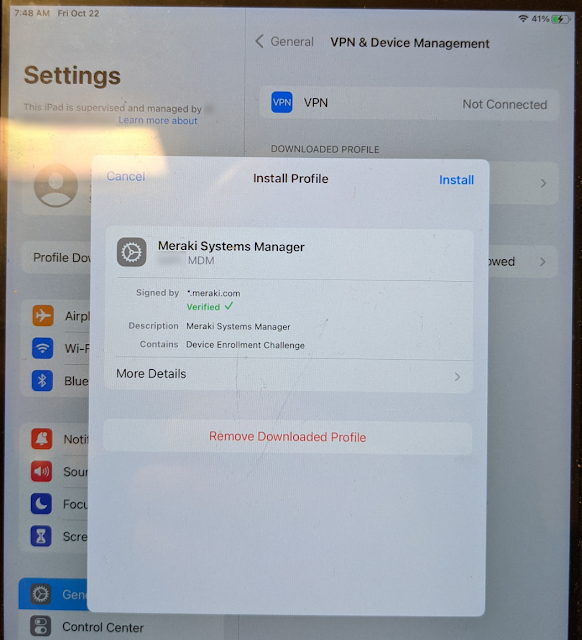
Install the profile


Trust the certificate from the MDM


Once the profile is installed, the ipad will start reconfiguring to what you have setup for the profile on the MDM.


to get the devices setup.  Once that was done.  I used apple configurator to just supervise the devices.  Then I used safari to add them to the MDM.  Once there I was able to set them up as before in Meraki, adding and removing profiles as required for apps.


How to fix CURL call imporitng an RSS feed on a site blocking CURL calls

There is a 3rd party service provider that my organization uses called bibliocommons.  They have these nice book carousels.  However the car...