How to setup Apache Tomcat for use with Bibliocommons.
We are going to use Microsoft Hyper-V for running this server. So before we begin, you will want to open 3 types of ports and restrict them to come from the Bibliocommons IP range. So for the purposes of this documentation we are going to say 53093, 53094, 53097
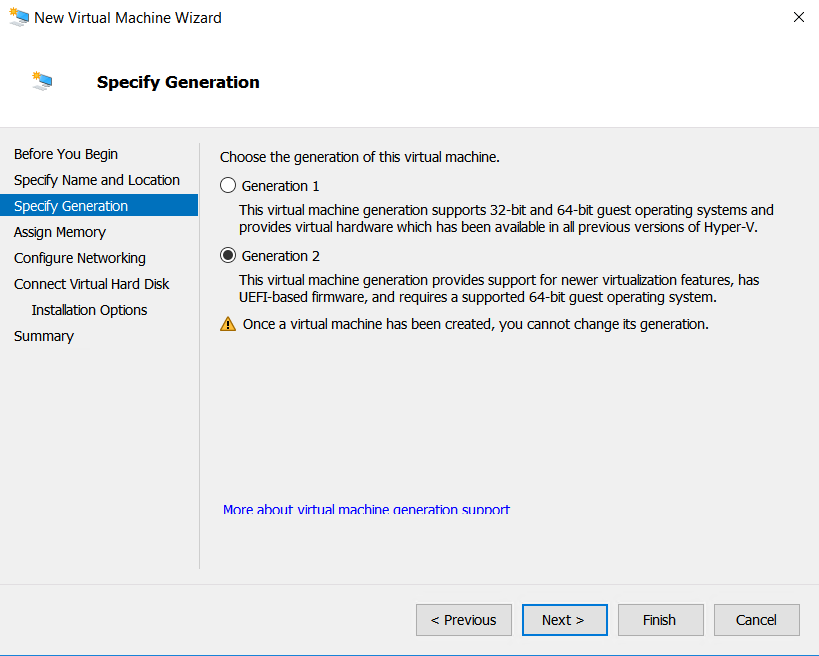
Setup and install your Linux server on Hyper-V. I am using Ubuntu 18.0.4 LTS. For the purpose of this documentation, we are making the VM dual processor with all Integration services enabled, we have changed our secure boot to be a Microsoft UEFI Certificate Authority, TPM enabled and processor compatibility is checked. We will also be using a static IP for this install.
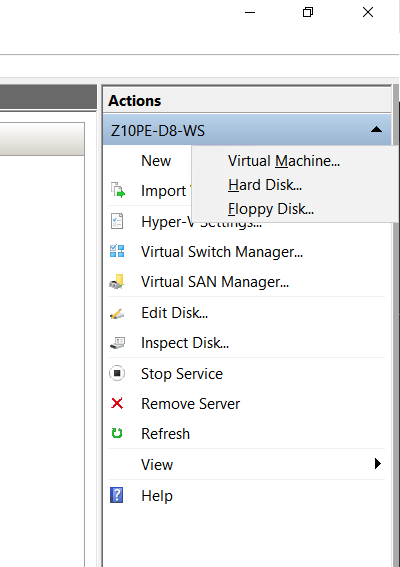 |
| Create Virtual Machine |
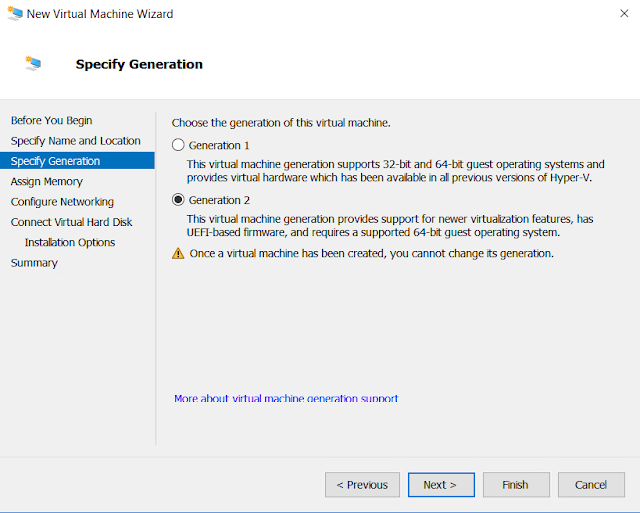 |
| Specify Gen2 |
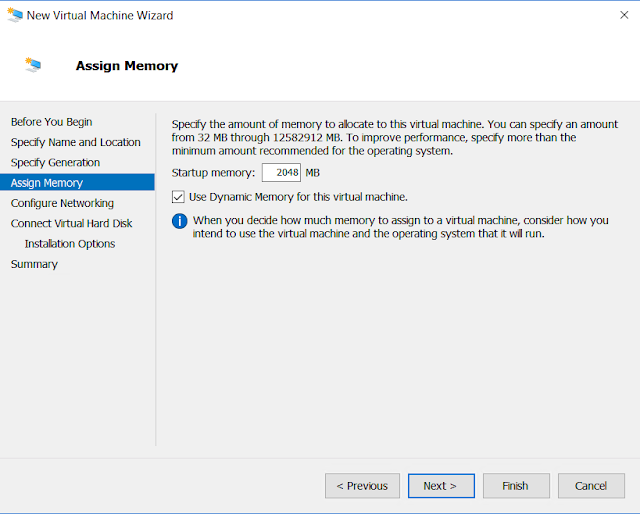 |
| Assign Memory |
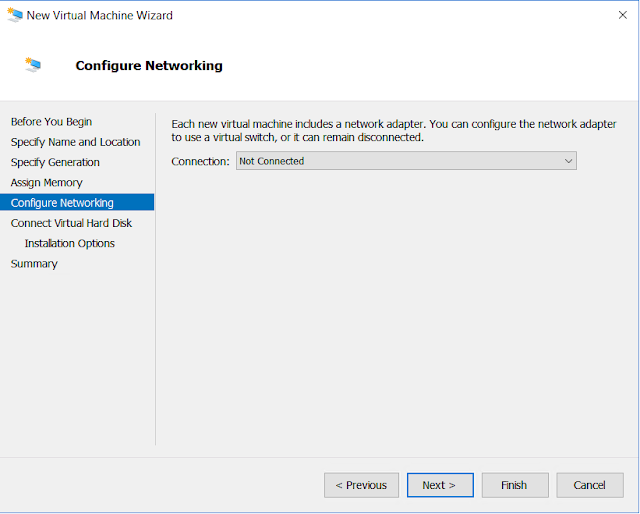 |
| Configure the network |
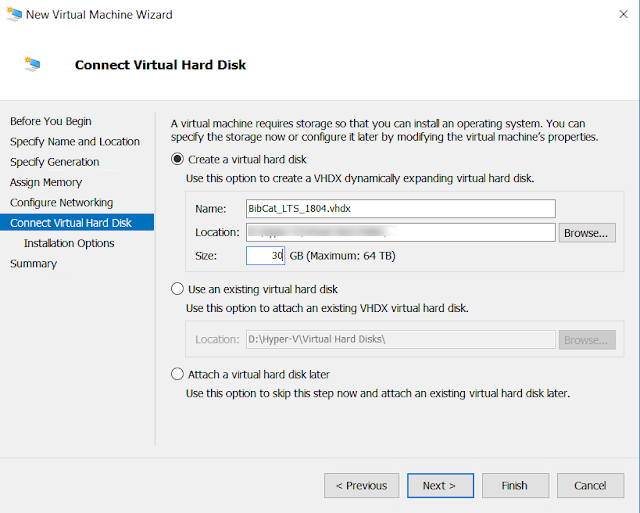 |
| VHDX Summary |
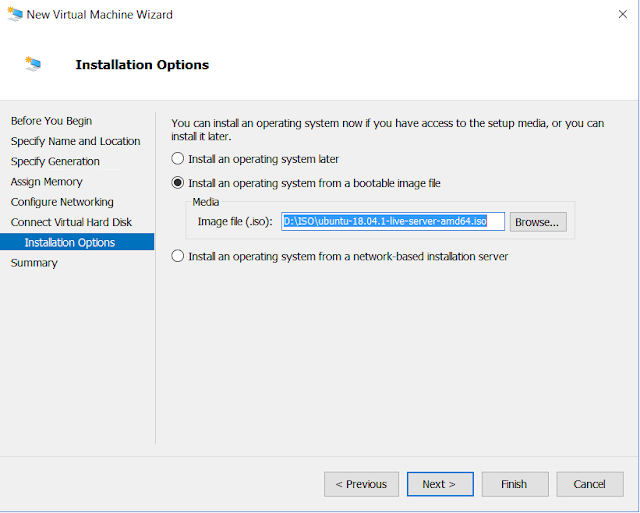 |
| Select a boot media |
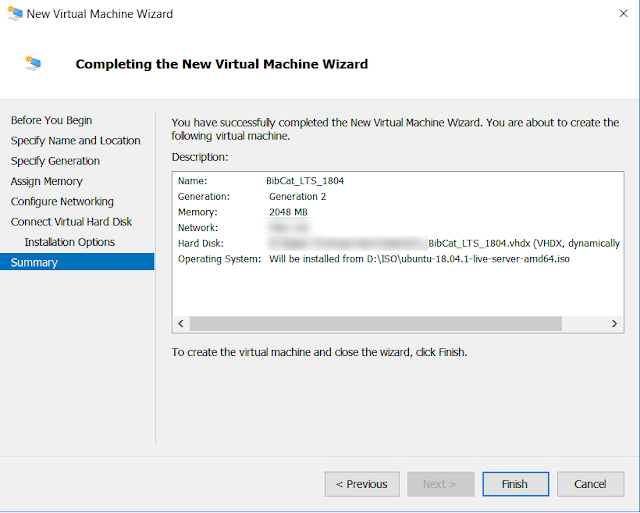 |
| Finish the creation |
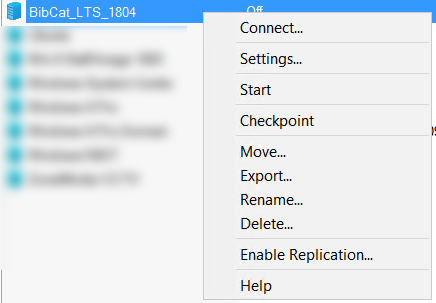 |
| Connect |
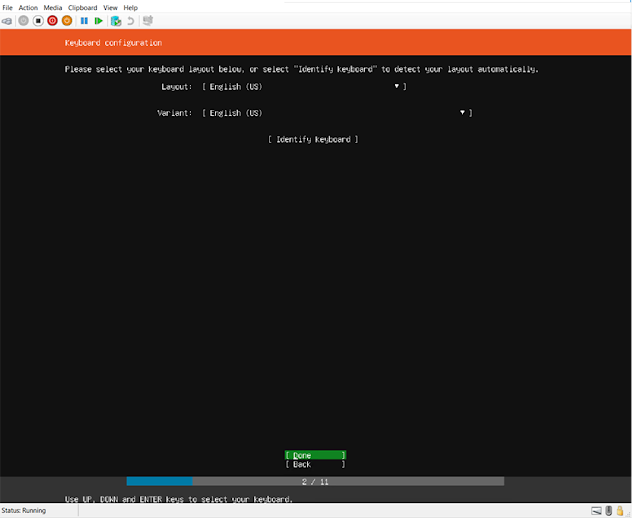 |
| Select your language |
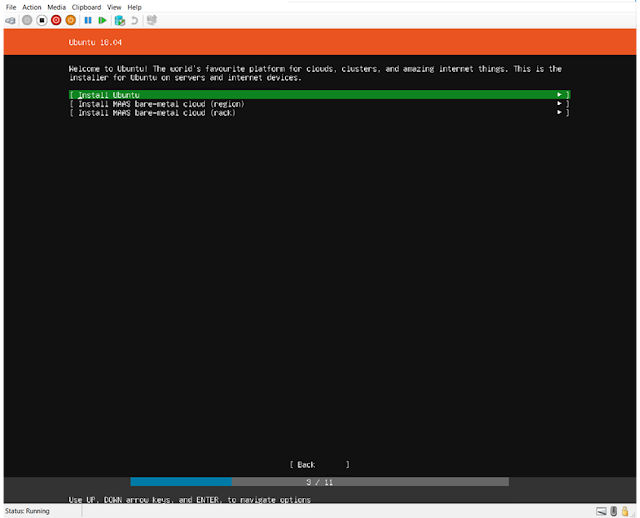 |
| Install Ubuntu |
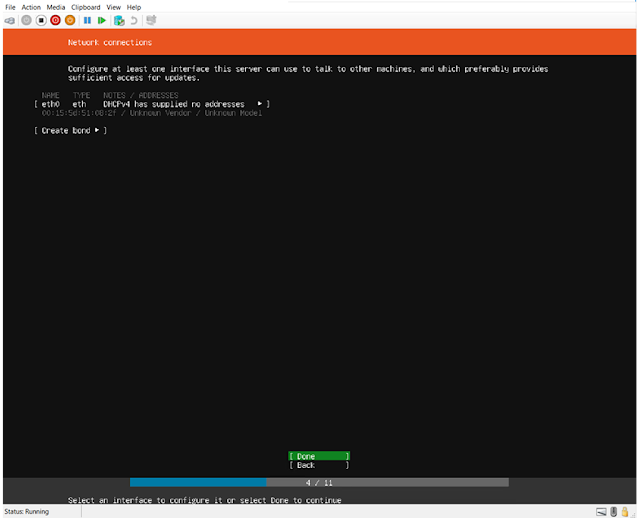 |
| Specifiy Networking |
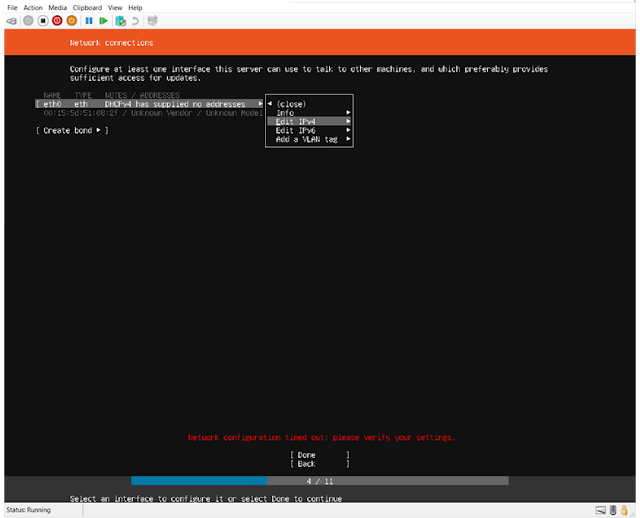 |
| Edit IP |
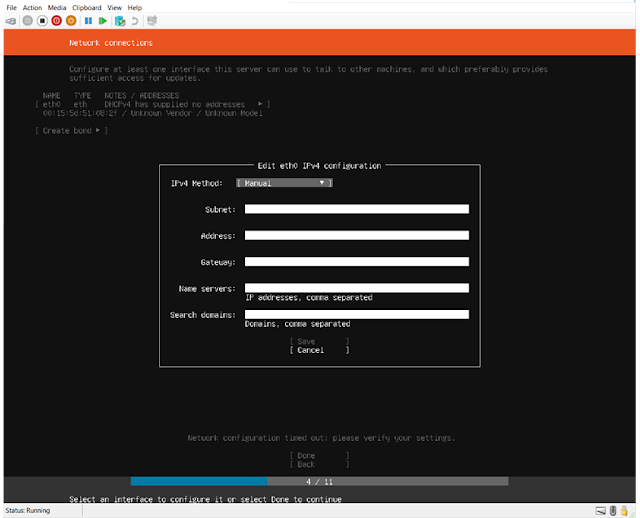 |
| Add your manual IP |
For the purposes of this documentation, the IP address doesn't really matter but it will need internet access to get updates and add the ZIP and Java Package.
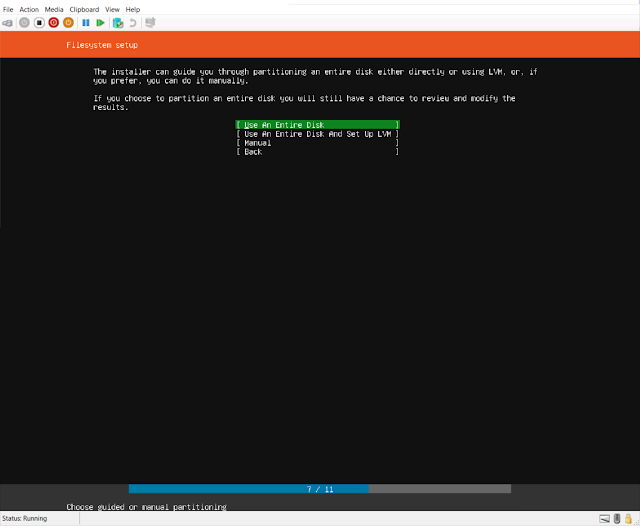 |
| Use the entire disk, (use LVM if you want) |
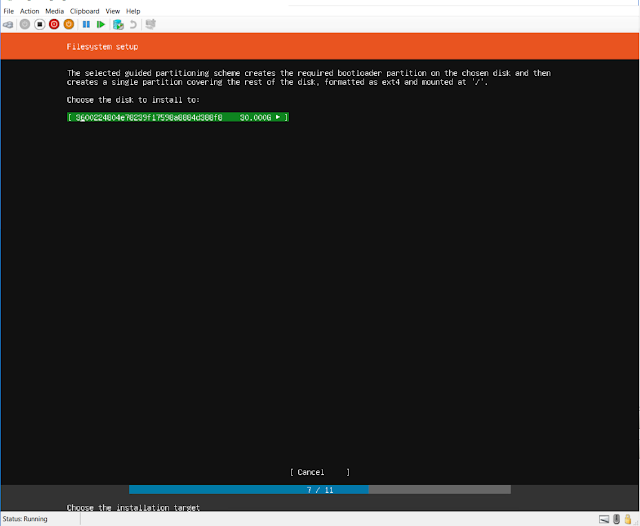 |
| Select the disk |
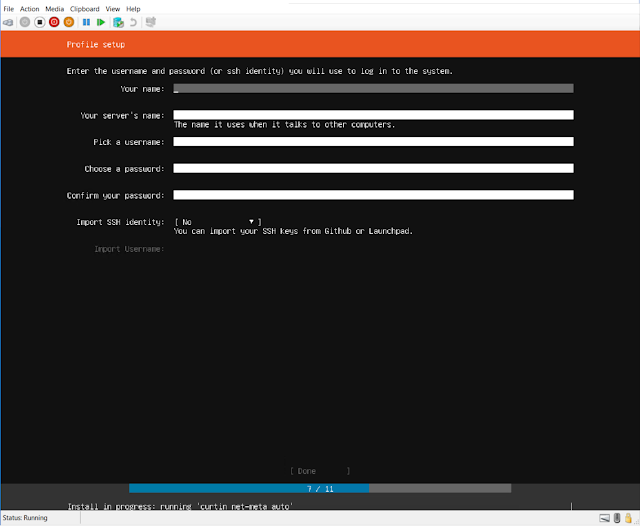 |
| Create your server name and credentials |
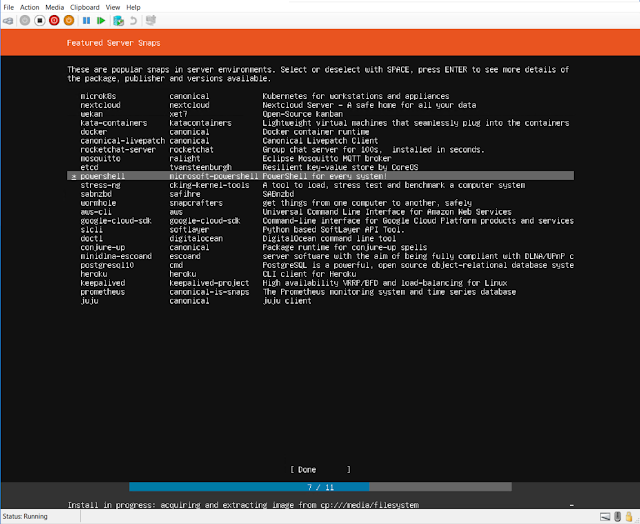 |
| add powershell |
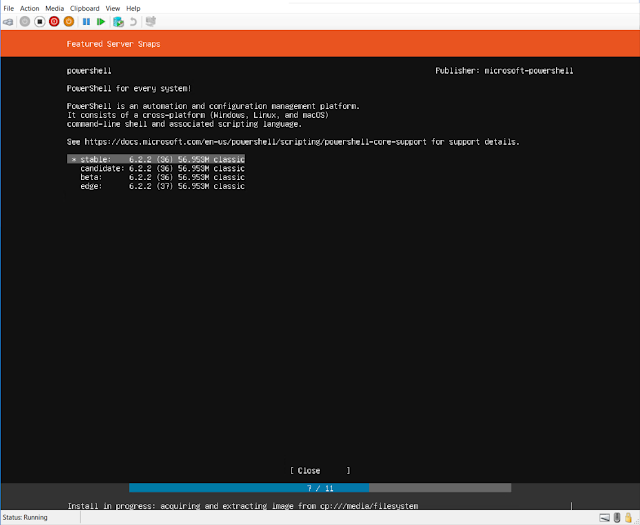 |
| I prefer the latest stable version |
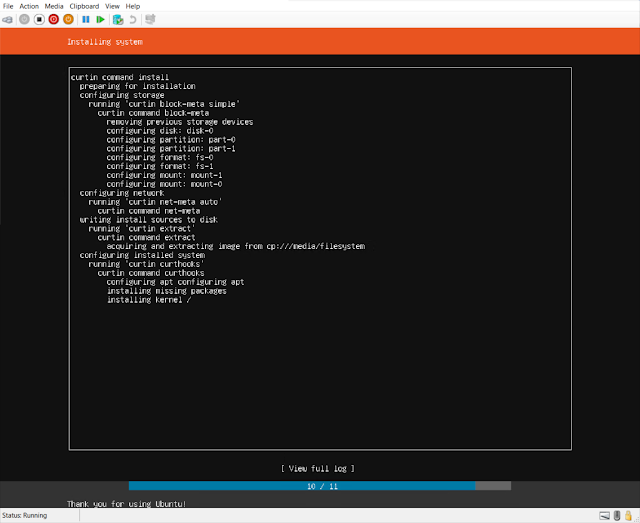 |
| Install |
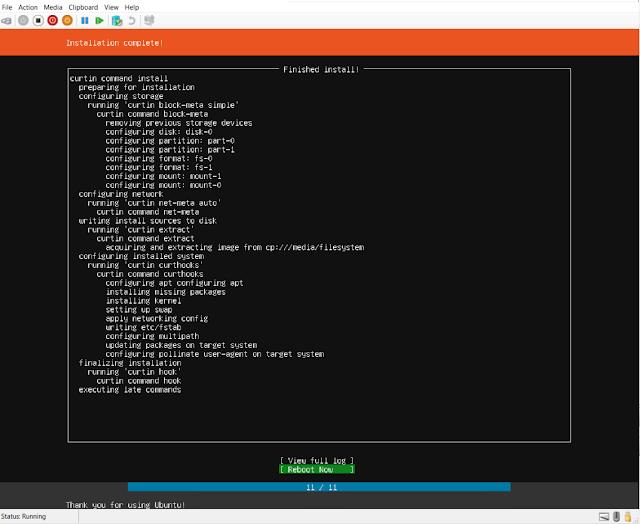 |
| Reboot |
There are a few additional items you will want to install for your linux server. In addition to powershell I installed UNZIP, and Java 8 default repository and from Oracle. After installing your linux server download and install the Bibliocommons Tomcat installer. I downloaded it to my Desktop and SCP it to my linux system. To get the Oracle versions of Java you will need an oracle account. https://www.oracle.com/ca-en/java/
 |
| I SCP the files for Java and the Tomcat server from my workstation to the server |
Install open JDK first then extract the Oracle Java to the same jdk directory.
sudo apt install default-jdk
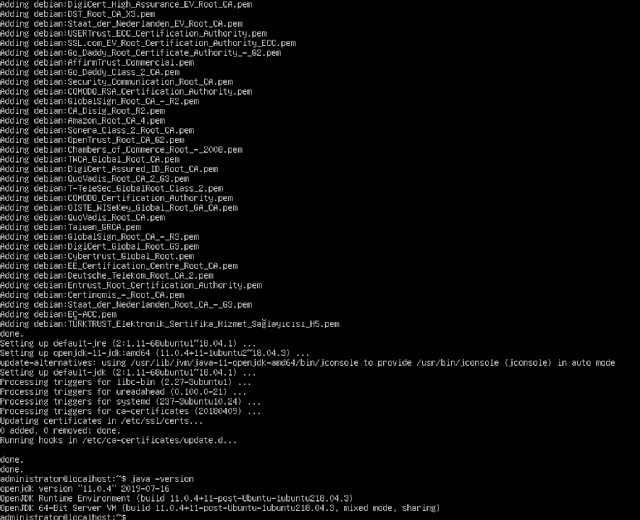 |
| Install Open JDK |
 |
| Extract the Oracle JDK to the Open JDK Directory |
sudo tar xvzf jdk -8u221-linux-x64.tar.gz -C /usr/lib/jvm
 |
| Multiple Java's in the JVM Directory |
Once extracted set the Default JVM
 |
| export JAVA_HOME=/usr/lib/jvm/jdk1.8.0_221 |
export JAVA_HOME=/usr/lib/jvm/jdk1.8.0_221, we can verify the java variable by typing echo $JAVA_HOME
When we see that our JDK Path is /usr/lib/jvm/jdk $Version (in this case 1.8.0221) we are good to go ahead and set our JAVA_HOME Variable
update-alternatives --config java
/etc/environment
Add the path JAVA_HOME=/usr/lib/jvm/jdk1.8.0_221"
Install Bibliocommons Tomcat
Make a directory in /opt called BiblioCommons
Sudo mkdir /opt/BiblioCommons/
Extract the files in the Java8 folder tar xvf apache-tomcat-7.0.82-bibliocommons.tar
You should now see a folder called apache-tomcat-7.0.82-bibliocommons.tar
Move that folder to /opt/BiblioCommons/
Securing Tomcat
First, create a new tomcat group:
sudo groupadd tomcat
Next, create a new tomcat user. We'll make this user a member of the tomcat group, with a home directory of /opt/tomcat (where we will install Tomcat), and with a shell of /bin/false (so nobody can log into the account):
sudo useradd -s /bin/false -g tomcat -d /opt/tomcat tomcat
Add out user to the tomcat group
Sudo usermod -a -G tomcat administrator
Give tomcat ownership of BiblioCommons
sudo chown -R tomcat:tomcat /opt/BiblioCommons
the user owning the folder bibliocommons will be tomcat.
Then you can execute
sudo chmod u+w bibliocommons folder to add the write permission to the username for the user you want (such as administrator).
But if you want to add this user to the group associated with "bibliocommons", you can run
sudo usermod -a -G tomcat administrator
and then execute sudo chmod g+w bibliocommons
to add the write permission to the group.
Change the permissions so owner and the group have rwx permissions
Sudo chmod -R 775 <$Bibliocommons directory> (owner is the user tomcat but the administrator account needs x permissions as well that is why group is 7)
Now that our tomcat user is set up and any users we created to manage the tomcat service have proper permissions, let's download and install Tomcat.
Now setup Tomcat
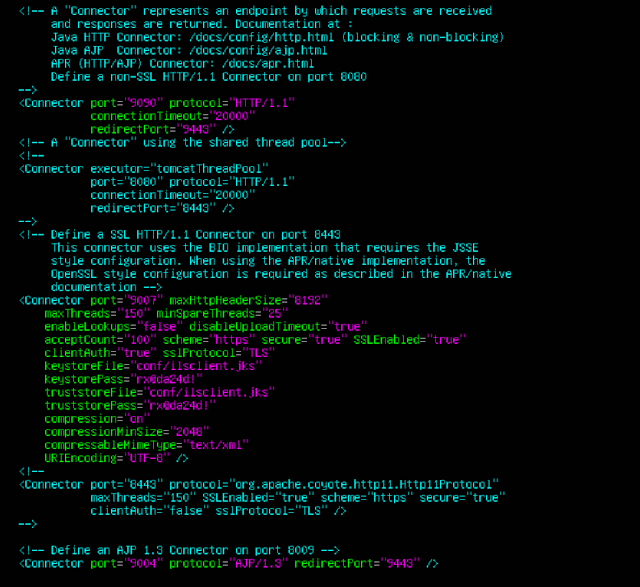
The default ports Tomcat uses are 9003, 9004 and 9007. If you know the default ports are already in use by other programs on your system and need to change them to ones that are not, open the following file with a text editor to find and replace the default ports: /conf/server.xml.
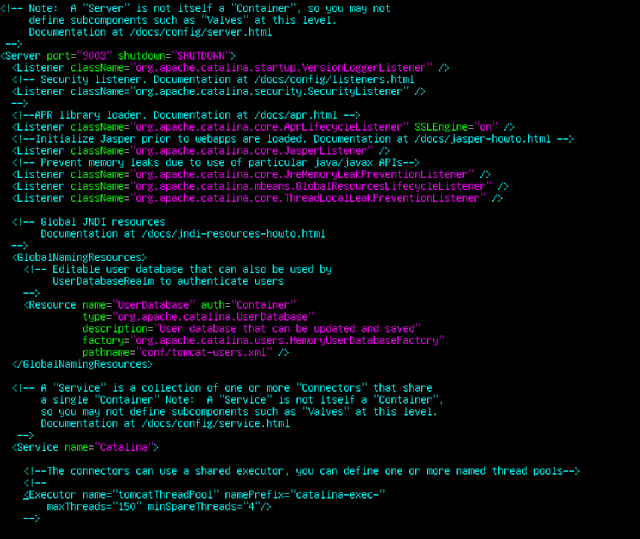
Note that you must pick a distinct port for each of the port options and let your BiblioCommons Project Manager know of any change in the SSH Connector Port which is 9007 by default.
Please note, while the BiblioCommons Tomcat installer opens port 9007 labelled as the "SSH Connector Port", its actually the HTTPS port our application servers use to communicate with your on premises Tomcat instance. The labeling of that port is incorrect.
Open the following file with a text editor: /bin/setenv.sh. Inside the file, uncomment the appropriate line for CATALINA_OPTS by following the instructions within based on the amount of population served. Also, update to be the absolute path the the JDK installed as described in the Software Requirements section of Allocating a Server in Your Network, such as /opt/Java/jdk1.7.0_55.
If you have not already done so, create a directory called BiblioCommons on your system and then create another one called Connector_Support inside it. For example, create the directories for the path /opt/BiblioCommons/Connector_Support. Please make sure the user who starts Tomcat has read, write and execute permissions for these directories.
Sudo chmod +rwx “Directory”
Open the following file with a text editor: /lib/connector.properties. Inside the file, update so that config.path is equal to the path to the Connector_Support directory you have created.
Finally, start Tomcat by running /bin/startup.sh and verify there is no error.
Verifying the Tomcat Installation
Verify the Tomcat installation by accessing https://localhost:9007 or https://localhost: with a tool such as cURL or Wget. It should show one of the following messages depending on which tool is used. Please do not be alarmed at the bad certificate error, the mere presence of the following messages is an indicator that Tomcat is running.
With Wget, you should see the following:
$ wget https://localhost:9007
--2014-04-17 16:58:31-- https://localhost:9007/
Resolving localhost (localhost)... 127.0.0.1, ::1
Connecting to localhost (localhost)|127.0.0.1|:9007... connected.
GnuTLS: A TLS fatal alert has been received.
GnuTLS: received alert [42]: Certificate is bad
Unable to establish SSL connection.
|
With cURL, you should see the following:
$ curl https://localhost:9007
curl: (60) SSL certificate problem: self signed certificate
More details here: http://curl.haxx.se/docs/sslcerts.html
curl performs SSL certificate verification by default, using a"bundle"
of Certificate Authority (CA) public keys (CA certs). If the default
bundle file isn't adequate, you can specify an alternate file
using the --cacert option.
If this HTTPS server uses a certificate signed by a CA represented in
the bundle, the certificate verification probably failed due to a
problem with the certificate (it might be expired, or the name might
not match the domain name in the URL).
If you'd like to turn off curl's verification of the certificate, use
the -k (or --insecure) option.
|
Please let your BiblioCommons Project Manager know if these messages do not appear.
If you want to verify tomcat is running you can edit the server.xml file and un comment out
Once that is done, stop and restart the tomcat server. This will allow you to verify that tomcat is working
Creating Tomcat Startup Scripts
Once you have installed Tomcat successfully, you will need to set up Tomcat to start automatically on server startup. This is critical to ensuring service recovery in the event of server issues or regular server maintenance.
The process for setting up Tomcat to start automatically varies by operating system and distribution. Some common distribution instructions are outlined in the article below. Please consult the documentation for your OS for exact steps for your case. In this case we are using Ubuntu Server 1804LTS so we going to call this bibcat.sh and place it in the /etc/init.d folder
The Bash Startup Script
The following is a startup script that can be used on Linux based systems:
#! /bin/sh
# set this to wherever the Tomcat binaries/configuration exist
case "$1" in
start)
${TOMCAT}/bin/startup.sh
;;
stop)
${TOMCAT}/bin/shutdown.sh
;;
*)
echo "Usage: /etc/init.d/tomcat-bibliocommons {start|stop}"
exit 1
;;
esac
exit 0
|
Ensure to chmod the script so that the root user can execute it (most likely 755). You can test the script directly by running it with the start and stop parameters (as sudo).
Steps to create a permanent Bash alias:
- Edit ~/.bash_aliases or ~/.bashrc file using: vi ~/.bash_aliases
- Append your bash alias For example append: alias update='sudo yum update'
- Save and close the file.
- Activate alias by typing: source ~/.bash_aliases
Please note that ~/.bash_aliases file only works if the following line presents in the ~/.bashrc file:
if [ -f ~/.bash_aliases ]; then
. ~/.bash_aliases
fi
Are above lines are missing in your ~/.bashrc file? Just append at the end of the ~/.bashrc, using a text editor such as vi/vim or joe.
vi ~./bash_aliases
Alias bibcat=’/etc/init.d/bibcat.sh’ (this is the path to your script)
Source ~./bash_aliases
to activate the aliases
You can now start and stop the tomcat service using bibcat stop or bibcat start
Startup script
Type the command crontab -e
Then add the line below
@reboot /etc/init.d/bibcat.sh start
Save the file and exit
Then add the rules to your firewall to allow bibliocommons to access the server.
Setup your timezone
Be sure to make sure your timezone is setup correctly, if you don’t it will interfere with your bibliocommons records sync. Since we have no GUI we need to change the files in the terminal.
Sudo vi /etc/timezone -> change it to US/Mountain
Sudo cp /usr/share/zoneinfo/America/Edmonton /etc/localtime
To verify type date in command prompt
Reference:
Install Java on Linux
https://linuxize.com/post/install-java-on-ubuntu-18-04/
https://docs.oracle.com/cd/E19182-01/821-0917/inst_set_jdk_korn_bash_t/index.html
https://thishosting.rocks/install-java-ubuntu/
Install Tomcat
https://partnerportal.bibliocommons.com/hc/en-us/articles/202340244-Installing-Tomcat-UNIX-Systems-
https://www.vultr.com/docs/how-to-manually-install-java-8-on-ubuntu-16-04
Ubuntu Software Firewall
https://www.digitalocean.com/community/tutorials/how-to-set-up-a-firewall-with-ufw-on-ubuntu-18-04
Path Alias for starting and stopping the service