Showing posts with label Apple. Show all posts

Friday, October 22, 2021

Meraki MDM - Fixing Invalid Profile when adding device to MDM

 With apple's iOS 15 update, I found I had some issues to fix with some of our organizations iPads, specifically because they are only 16 gb versions; they were out of space.  Also with the pandemic the Push cert was not kept up due to the systems being off.  Resetting and reformatting the ipads ended up being required.  Now these ipads were store bought ipads and not directly purchased from apple; which complicates things.  That caused the ipads to no longer connect to the Meraki MDM due to the bad push certificate and when I tried to re-add them using Apple Configurator 2, I got the invalid profile error.


After a lot of pain and troubleshooting, I had managed to make some progress on getting these ipads re-set up on the Meraki MDM.  After updating them to iOS 15.0.2 I ran the apple configurator which put them in the Apple Business Management center, but would not configure the ipads for use with the MDM.  

An issue that I also found which was causing me some of the grief is these ipads were somehow added to an icloud account, which I need to be removed before I could continue.  After removing the ipads from the iCloud account, I setup the ipads for automated enrollment thought Apple Configurator 2.  Doing this put the ipads into Apple Business Manager but still would not configure the ipads to use the MDM with the push certificate.  

I thought I would try and add them to the Meraki DEP, which I was able to do but this did not help me with getting the ipads setup to be used and updated with the push certificate.  What ended up being the solution was resetting all the certs (again), and setting up the ipads for just supervision with no MDM.  After the iPads were Supervised I was apple to add them to the MDM using Safari and the MDM web link.  I also had to remove the education configuration part of a profile configuration


 I thought this was odd but it was causing the following two errors in the Meraki log which you can see below.

Error: The top-level user “xxxxxxxx-xxxx-xxxx-xxxx-xxxxxxxxxx” is neither a leader nor a member.

Error: The payload “Your Meraki iPad Profile” is invalid.


Ultimately I re-did all the certs between apple business manager and Meraki
  • The Apple configurator certificate
  • the VPP certificate
  • the push certificate
  • DEP certificate.  
Then I removed the education part of the profile and setup the ipads as just supervised devices with no MDM having to add them manually after.   This worked and got the ipads back up in working order.

Connect the ipads to your mac and open Apple Configurator 2 and select the ipad or ipads and select the Prepare


Select Supervise devices and allow devices to pair with other computers.


Select do not enroll in MDM


Select the Organization 


Configure iOS Setup


After the ipad has been supervised, the ipad could be connected to the internet.

Un-Supervised Device

Once the ipad was supervised, the wifi screen shows up and when connected can then be joined to the MDM by the enrollment URL/Link.  You must use safari to connect to the MDM.

iOS Screen

I was able to use safari get to the enrollment URL/Link to join the MDM and the profiles were applied right away.  However before you do if you have apps that you will want to use that were purchased on a specific profile you will have to sign into the ipad with that account before loading the MDM.  Otherwise you will lose access to those apps.

Meraki Network Registration

 
Sign in with Google

Sign in with a Meraki email.

Enter the password

Finds The MDM Network

Allow the profile to download to the iPad

Close the alert and open the settings


Click on Profile Downloaded

Install the profile


Trust the certificate from the MDM


Once the profile is installed, the ipad will start reconfiguring to what you have setup for the profile on the MDM.


to get the devices setup.  Once that was done.  I used apple configurator to just supervise the devices.  Then I used safari to add them to the MDM.  Once there I was able to set them up as before in Meraki, adding and removing profiles as required for apps.


Thursday, March 11, 2021

Installing Windows 10 on old Intel Apple Hardware

2008 iMac

I was asked to setup a laptop for a local food bank and while the laptop was a good idea to setup some concerns arose about how to secure the device and whether a newer laptop was the best choice based on the needs for the food bank which is a large screen, windows 10, and microsoft office.  Now given the requirements there were a couple older iMacs around that I had upgraded with solid state drives.  We had a early 2008 iMac with 4 gigs of ram and an early 2009 iMac with 8 gigs of ram.  The clients for this project originally requested laptops for the space.  However since none were available and given the nature of the use case (web surfing and documents) I thought it would be a good idea to use a older iMacs that were available.  

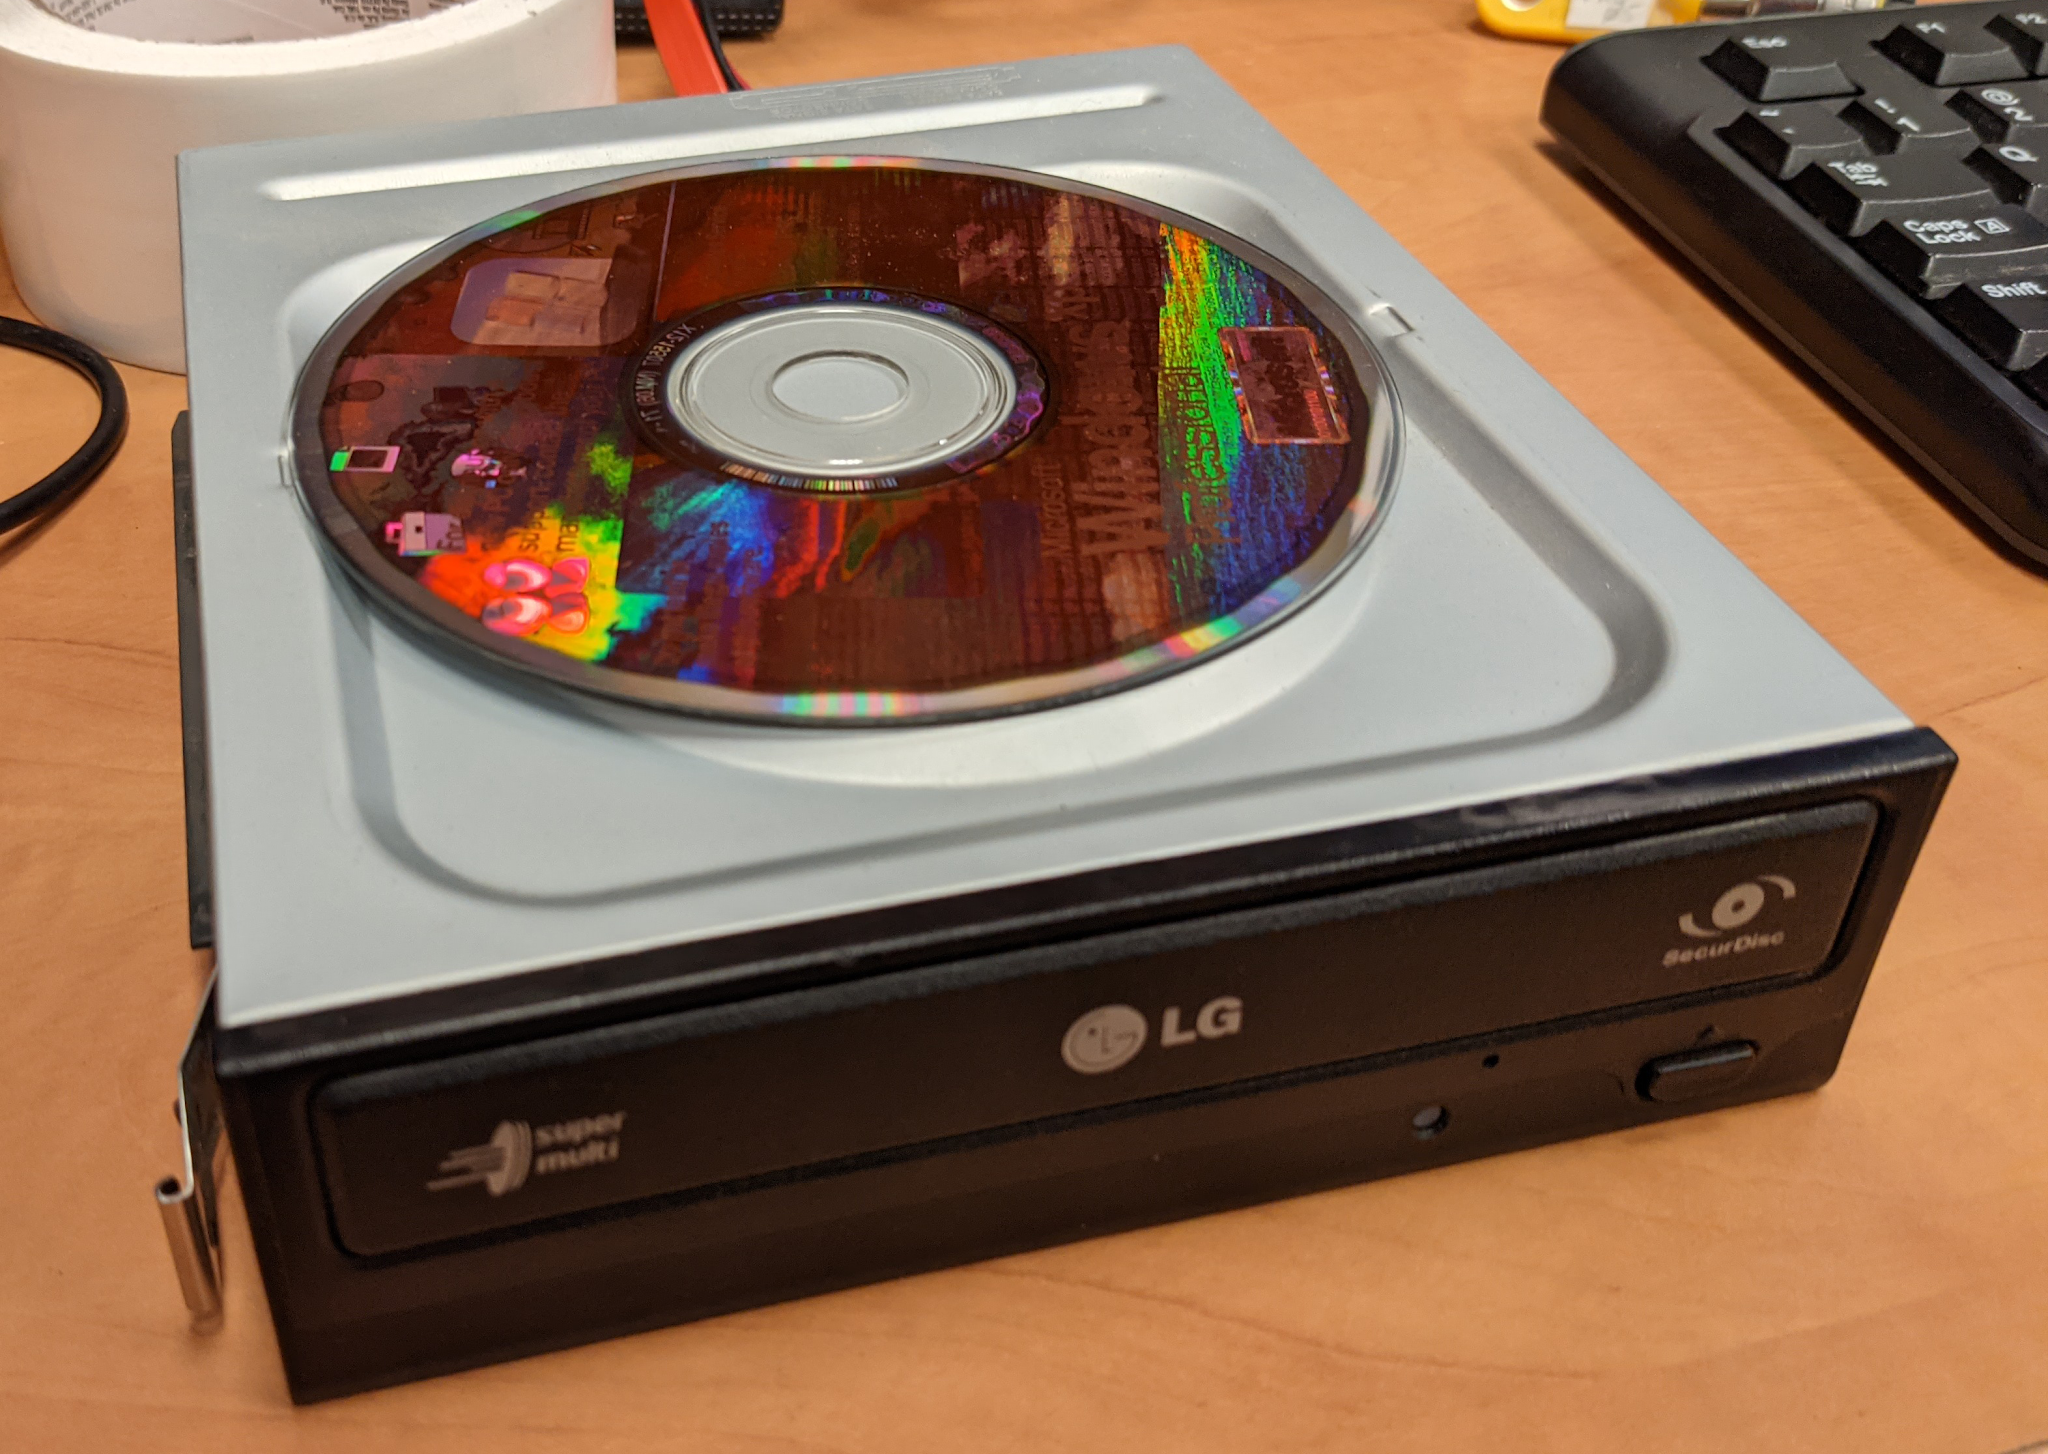
Setting up the 2009 iMac was relatively easy, enable bootcamp, and restarted the computer holding down the option key.  I did have to use a USB DVD Drive to get boot camp to complete the process and ask for a reboot but when it did I selected the Windows 10 boot device and installed windows 10.

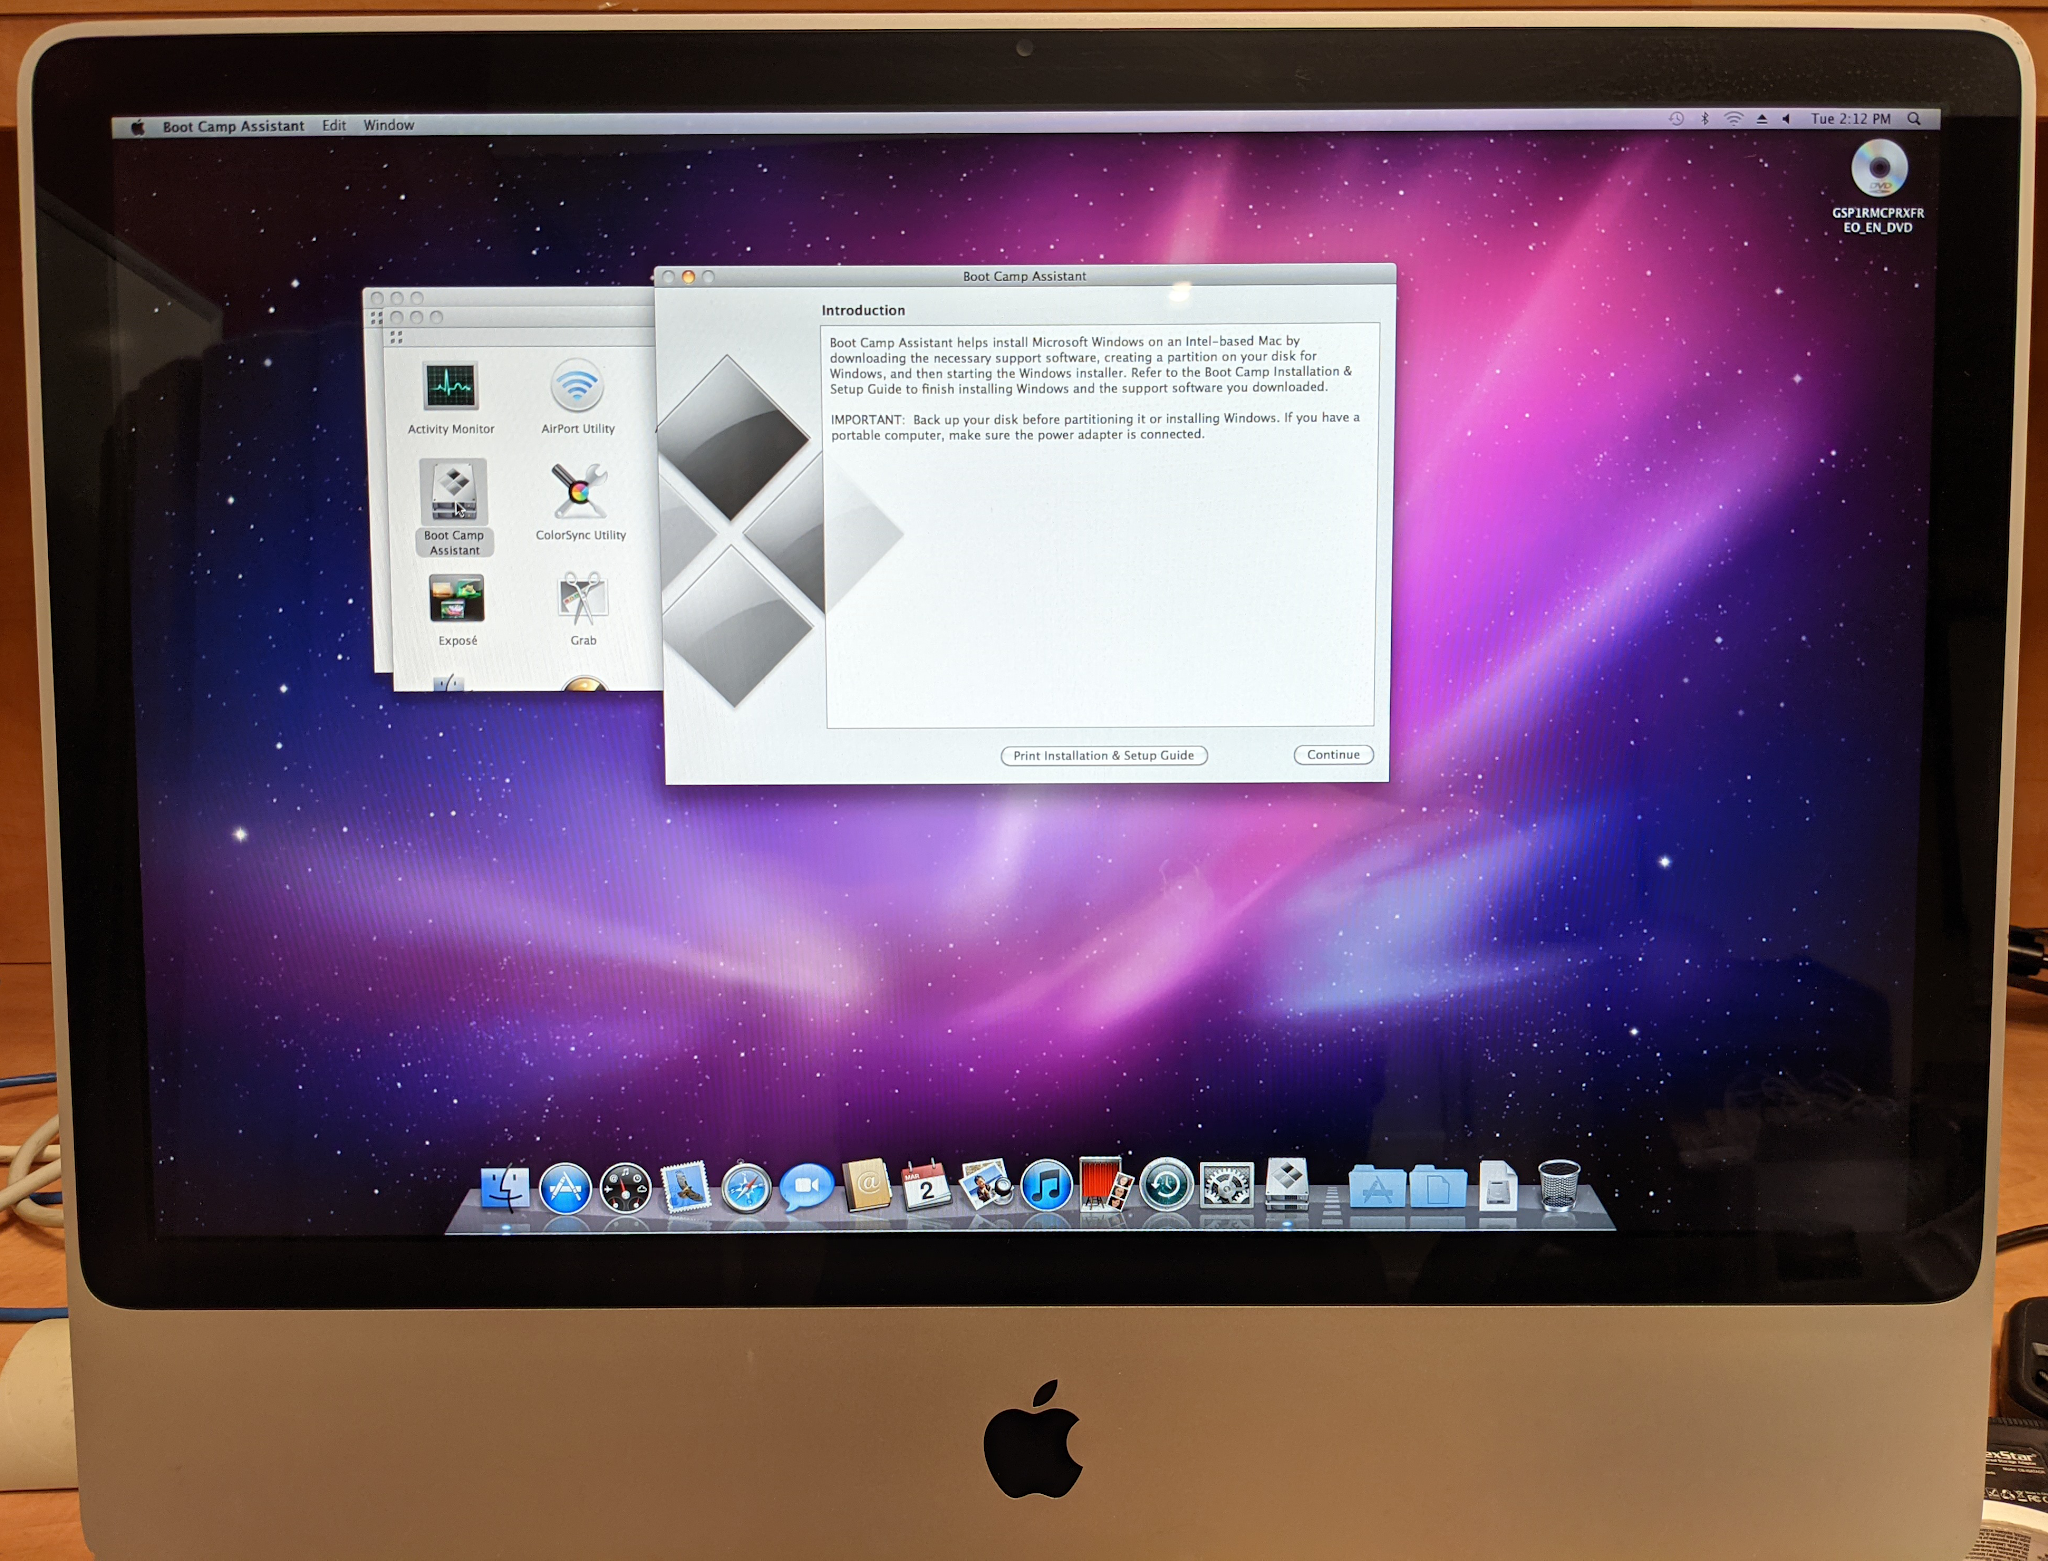
Enabling Bootcamp on old mac

When you have your Windows 10 ISO mounted; check your Mac to see if you need a 32bit or 64bit version of windows and a 8GB USB Drive formated to FAT32 with a MBR record, run Bootcamp.  It is located in Applications -> Utilities.


You will then get the following screen and it will download and format the flash drive with the windows drivers for your version of the mac.


Make the selection of the disk as shown below.  The disk will have to be formatted as a FAT32 (MBR) disk for the Bootcamp tools.


 Once created, the system will then partition your Mac OS Drive (a safe bet is to go 50/50 for the Windows/Mac OS partition)


However getting the 2008 iMac setup was much more challenging.  I did the same process to setup windows 10 as I had done on the 2009 iMac and the system would freeze trying to boot off the usb drive.   

Frozen UEFI Boot Menu

So then I setup a usb dvd drive using a SATA to USB Adapter and it worked fine for the 2009 to recognize and boot off of but not for the  2008 imac, the only thing it would boot off was was a snow leopard DVD.


Every Windows bootable disk, xp, vista, 7 would not boot, it would show in selection menu but would give no  bootable devices found error.  


Even this Samsung USB DVD drive, it would also only boot the snow leopard disk until I switch out the 7 pin USB cable.  Once I did that all windows disk would boot.  I was then able to install the 64bit Windows 7 DVD as I had no dual layer disks of the Windows 10 installer.


With the 2008 iMac, once I got Windows 7 loaded and activated the key, I loaded chrome, then downloaded and ran the Windows 10 upgrade.


<!-- IMPORTANT THIS WILL NOT WORK UNLESS YOU HAVE WINDOWS 7 ACTIVATED or a VALID WINDOWS 7, 8 or 10 KEY!! --!>

With Windows 7 being activated the upgrade wizard went though and took it's sweet time but it did upgrade the windows install and rebooted to the Windows 10 Install Screen.


Once I was done with the install wizard, everything went just great, and we eventually got to our Windows 10 Desktop.


The Windows 10 install seems to work best with the generic windows drivers, trying to install the NVidia driver or the bootcamp driver caused the system to require a reset.  However this core2 2.8Ghz 4GB Ram and 120GB SSD mac seems to be running windows, office and the web browsers just fine.

Tuesday, July 02, 2019

How to renew the Apple Push Certificate for Cisco Meraki MDM

With Apple equipment when used with a MD such as Cisco meraki you have to update your push certificate every year otherwise your connection between the devices and your MDM will break and then you will be doing manual updates until you get the devices reset with your MDM.  Here is how you update your apple push certificate to your apple devices before the expiration date so you don't lose the connection between your MDM and your apple devices.


1 - Login to your Meraki MDM


2 - Select MDM Network -> then under the Organization menu under "Configure" select MDM


3. Once here select the Update/Renew Certificate button.


4.  Download your CSR File.  If you don't keep a clean house (or download folder) note the name and date of the file as it is very important.  In my case it is "Meraki_Apple_CSR (4).csr"


5. Then click on the link for the Apple Push Certificate Portal and login with the ID you are going to use or using with the MDM.  (It is the ID is tied to the CSR) so in this case mdmaccount@domain.ca.  Don't forget that you will need your 2FA device to be able to login.


6.  Select Renew on the Certificate you want to renew.  Then upload the CSR; this is the file from step 4 - "Meraki_Apple_CSR (4).csr"


7.  Then once done you will download your new Certificate to use with your MDM.  Again make note of the name and date if you don't keep things tidy.  In my case it is "MDM_ Meraki Inc._Certificate (1).pem" 


8. Now go back to your meraki mdm and enter in the email address and upload the certificate we got from apple (MDM_ Meraki Inc._Certificate (1).pem


9. Save the settings (this is usually on the bottom of the page or on the bottom right)

10.  Now your certificate expiry should be from 1 year as shown below


You can view a youtube video of the process here


References:

Removing Show Recent History and Recently Open Documents from Windows Explorer

How to remove the Recent History and Recently Open Documents from Windows Explorer Using the Registry Editor Press the Windows Key + R, type...