Showing posts with label restore. Show all posts

Tuesday, March 01, 2022

Restore a PFSense Backup using the CLI (Command Line Interface)

This tutorial will go though how to restore a PFSense Configuration though the Command Line Interface (CLI).  You will need a few things before we begin.

  1. A usb drive formatted as FAT32
  2. A backup of your PFSense Config File on the thumb drive.


Once that is done, and you have your fresh version of PFSense installed and ready to go.


plug your USB device into the system.


We see the device is da0, but we will run camcontrol with devlist to verify the USB Drive to do that we will need to enter shell mode by selecting option 8


Then we will run the command 
camcontrol devlist


We can see that da0 is our usb drive, so to see all available partitions we will run 

ls /dev/da0*

So we can see a single partition /dev/da0s1 so we need to mount it.  To mount it we will need to make a folder to mount to.  In this case I'm going to make a folder called bak

mkdir /media/bak


then using the following command to mount the usb drive to /media/bak

mount_msdosfs /dev/da0s1 /media/bak


Then we are going to cd into /media/bak and run a ls to see what files we have on the drive

cd /media/bak

LS 


We find our pfsense backup file now we will copy it to /cf/conf/config.xml overwriting the default config file.  If you so choose you can make a backup of the default config by first doing
 cp /cf/conf/config.xml /cf/conf/config.bak

I am just going to overwrite the file. To do that I am going to run

cp /media/bak/mypfsensebackup-20220228051431.xml /cf/conf/config.xml

This will copy/paste the backup file into the /cf/conf directory and rename the file to config.xml overwriting the file that is currently there.


Now we will remove the temp file and reboot the system.

rm /tmp/config.cache


exit shell 

exit

then select option 5 and reboot


Once you have rebooted your configuration should be applied if there were no issues or compatibility issues.




Monday, October 30, 2017

How to update a Horizon ILS Training Database

If you're a SirsiDynix Horizon library using SQL server this tutorial is for you.  I will cover how to restore a training database with a backup from the production database and then make changes in the Horizon Client to make those differences visible.

This tutorial assumes you have the proper permissions for both your ILS database and the Horizon client.  With this you can easily update your training database with the latest up to date information and depending on your hardware it can take as little as 5 - 10 minutes.

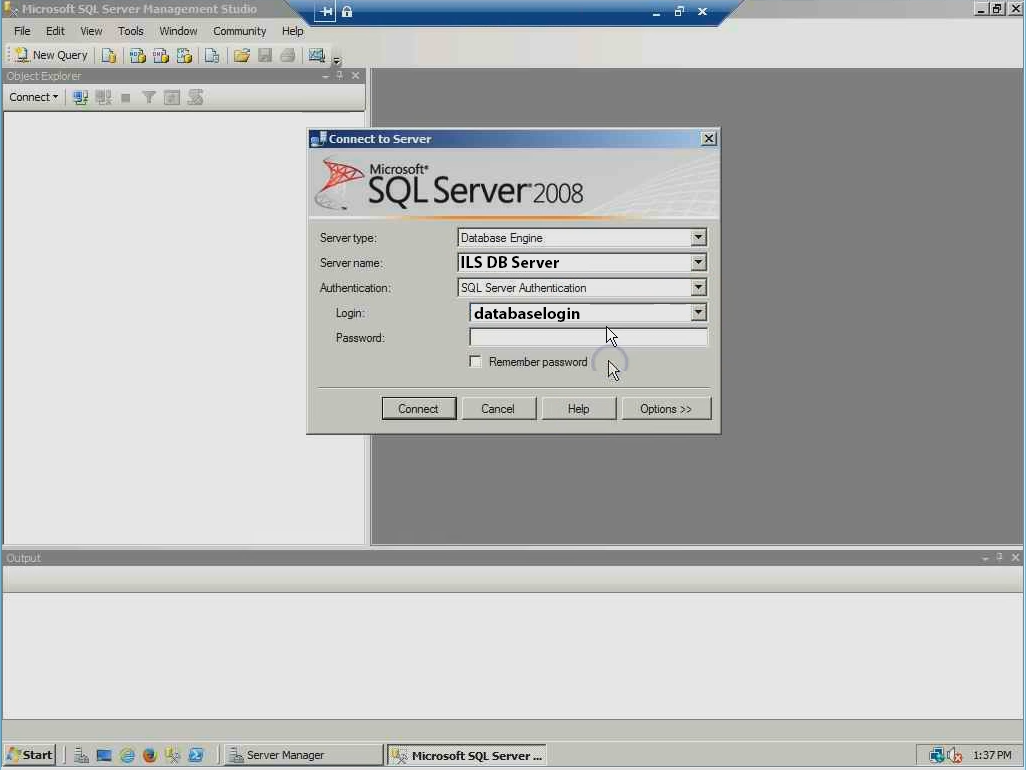
  1. Log into the Microsoft SQL Management Studio on a workstation that has access to the backup or on the server itself.

  2. Select your training database if not already made. Then select Tasks -> Restore -> Database

  3. Make sure you have the database you want to restore the data to selected.   Then change the source to "From Device" and select your backup database file.  In this case Z:\DBBackup\$DATEOFMYBACKUP.bak


  4. Make sure you check and make sure that Restore is checked.  Then go to options and check Overwrite the existing database. 

    ***IMPORTANT***
    - Make sure the "Restore As" Data and Log files are for the database you have selected otherwise you could overwrite production data. 

    Since we are using the Training_DATA and Training_Logs we know that we are not using the production data because lets assume that the production db is called production.  With our production database called production lets assume our Rows Data is called production_data.mdf and the logs production_log.ldf.


  5. The restore process will take about 5 minutes.  Then you can exit out of SQL Management Studio then open the Horizon Client with an account that has administrator access.

  6. You will get a Middle Tier Error on login. Just note the error and click ok.  We will be fixing this

  7. Once you are logged in go to Administration -> Table Editor -> Matham

  8. Double click on the line in the box.

  9. You want to find and edit two items shown below highlighted in Yellow

    Horizon App Server Version -> Select NO Horizon Application Server.  You don't need to put anything in the Horizon Application Server URL because we just disabled the URL.  I find it is a good idea to put TRAINING or something like that

  10. Now we want to close that window and repeat steps 7 and 8 but now we want to select location

  11. Double click the location line (this will be the name of the production database because we restored the training database from a backup.)

  12. The next thing you want to edit is the Location NAME.  When you change this it will update the Horizon Client Window with a new header.  So I put ***TRAINING*** - $PUTWHATYOUWANTHERE.  You can see it is in the top left corner of the Horizon Client Window


Updating your godaddy certs during the G2 intermediate hierarchy to the TLS Root CA - R1 hierarchy

  If you use godaddy TLS certificates you should be aware of some changes during the transition from the G2 certificates to the new R1 Certi...