Showing posts with label dynix. Show all posts

Monday, October 30, 2017

How to update a Horizon ILS Training Database

If you're a SirsiDynix Horizon library using SQL server this tutorial is for you.  I will cover how to restore a training database with a backup from the production database and then make changes in the Horizon Client to make those differences visible.

This tutorial assumes you have the proper permissions for both your ILS database and the Horizon client.  With this you can easily update your training database with the latest up to date information and depending on your hardware it can take as little as 5 - 10 minutes.

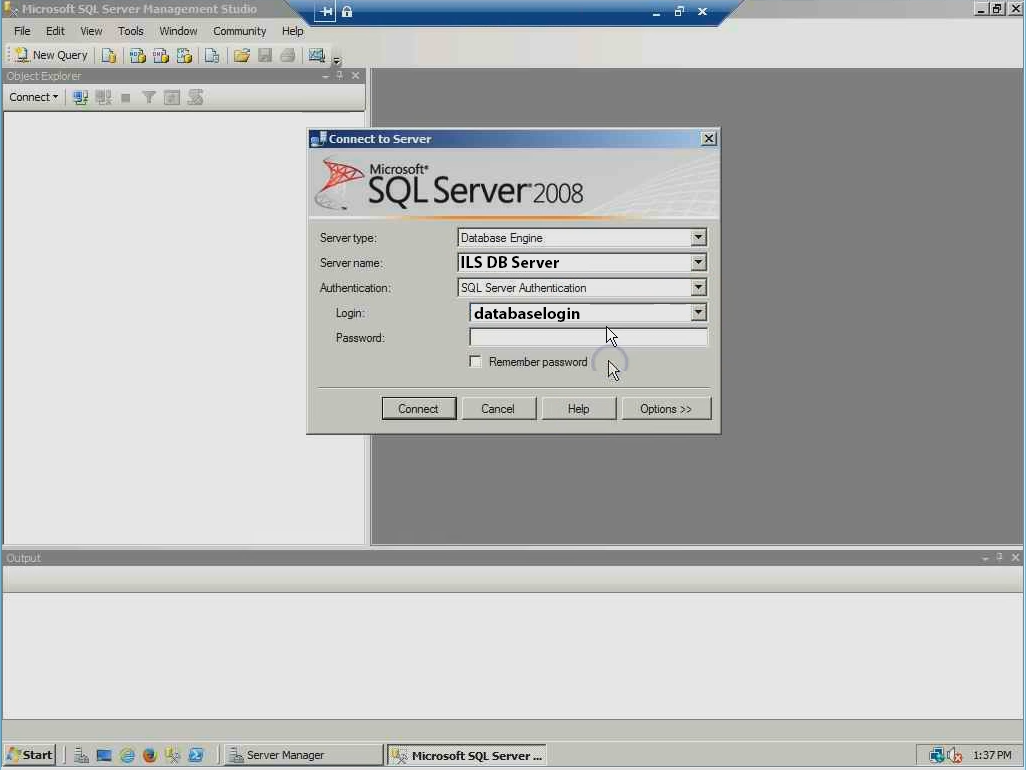
  1. Log into the Microsoft SQL Management Studio on a workstation that has access to the backup or on the server itself.

  2. Select your training database if not already made. Then select Tasks -> Restore -> Database

  3. Make sure you have the database you want to restore the data to selected.   Then change the source to "From Device" and select your backup database file.  In this case Z:\DBBackup\$DATEOFMYBACKUP.bak


  4. Make sure you check and make sure that Restore is checked.  Then go to options and check Overwrite the existing database. 

    ***IMPORTANT***
    - Make sure the "Restore As" Data and Log files are for the database you have selected otherwise you could overwrite production data. 

    Since we are using the Training_DATA and Training_Logs we know that we are not using the production data because lets assume that the production db is called production.  With our production database called production lets assume our Rows Data is called production_data.mdf and the logs production_log.ldf.


  5. The restore process will take about 5 minutes.  Then you can exit out of SQL Management Studio then open the Horizon Client with an account that has administrator access.

  6. You will get a Middle Tier Error on login. Just note the error and click ok.  We will be fixing this

  7. Once you are logged in go to Administration -> Table Editor -> Matham

  8. Double click on the line in the box.

  9. You want to find and edit two items shown below highlighted in Yellow

    Horizon App Server Version -> Select NO Horizon Application Server.  You don't need to put anything in the Horizon Application Server URL because we just disabled the URL.  I find it is a good idea to put TRAINING or something like that

  10. Now we want to close that window and repeat steps 7 and 8 but now we want to select location

  11. Double click the location line (this will be the name of the production database because we restored the training database from a backup.)

  12. The next thing you want to edit is the Location NAME.  When you change this it will update the Horizon Client Window with a new header.  So I put ***TRAINING*** - $PUTWHATYOUWANTHERE.  You can see it is in the top left corner of the Horizon Client Window


Thursday, August 31, 2017

Creating a SIP 2 Server on Windows.

SIP2 is a protocol created and controlled by 3M

The Standard Interchange Protocol is a proprietary standard for communication between library computer systems and self-service circulation terminals. Although owned and controlled by 3M, the protocol is published and is widely used by other vendors. Version 2.0 of the protocol, known as "SIP2", is a de facto standard for library self-service applications.  This protocol will be eventually replaced with the NCIP Protocol.

This post will go though how to setup a SIP2 Server on Windows; even though setting up a SIP2 Server is relatively trivial, you need to have few things in place first before you add the SIP2 Service.

  • The server must have a connection with the ILS database.  The database we will be basing this off will be a Microsoft SQL Server.
  • An ACS profile setup for the SIP server to talk to (typically 6 characters but may vary depending on ILS)
  • You need Java Version 6 or better (I am using the latest version 8.144)
  • The SIP2 Installer Files and DLLs for your ILS
  • This will be based off Windows Server 2012 Essentials

Go to and launch the setupwin32.exe. In my case it is in C:\Users\$USERNAME\Documents\SIP Install Files\SIP1.4.108\

Install the setup I have is not for the latest version of the ILS I am working on but I do have the DLLs which I will replace in the BIN folder once the SIP Service Wrapper is installed.

Run through the installer.  All SIP connections should be saved to C:/sirsidynix/”Sip$PORT#_$name” NOTE: Make sure you make the directory first otherwise you will get an error!

Example: Sip$PORT#_hoopla

When finished go to and run modify/create the port run the setup.bat located in C:\sirsidynix\Sip$PORT#_$name\bin\setup.bat

Run the setupwin32.exe in my case C:\Users\$USERNAME\Documents\SIP Install Files\SIP1.4.108\


Install the setup for the latest version of your ILS and replace the DLL files for the latest version of your ILS; you may have to get them from your ILS Vendor.


SIP 2 Service Installer


SIP 2 Settings


Host: $DATABASE HOST/IP
Database: $DATABASE
Database Type: MS SQL Server
Database Username: $DBUSERNAME
Database Password: $DBPASSWORD
location: $LOCATION
ACS Profile: “Get the 6 character code you created or from an ILS Administrator”

Replace DLLs. with the dlls for your ILS

Start The Service.

Testing a SIP Service


To test the service on the sip server use the ACSTester.exe located in the bin directory.


click connect


type in localhost, $port (Port you just created probably something like 60xx)


Click Create Message


select “63 Patron Information” and click create message


In the patron Identifier type in “test” with no quotes and hit ok


click send message


You should see something like the screen above (unknown borrow barcode) if the test is successful.


ACS SIP2 Tester

Updating your godaddy certs during the G2 intermediate hierarchy to the TLS Root CA - R1 hierarchy

  If you use godaddy TLS certificates you should be aware of some changes during the transition from the G2 certificates to the new R1 Certi...