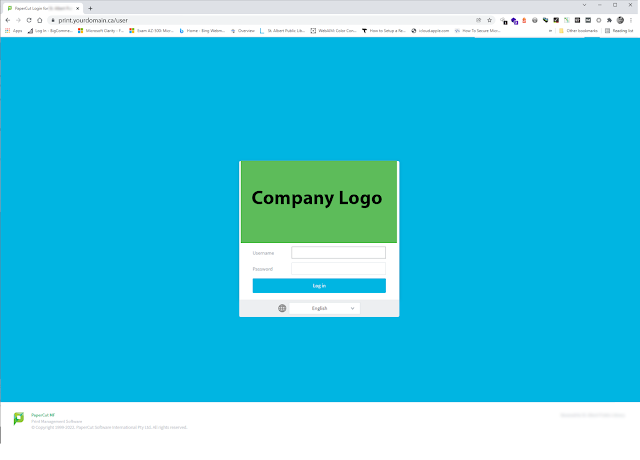
This post is a guide how one would setup public style printing for an office, library, school or other print for pay, print for public user service. The following example would be a how to print; if a generic account were setup for public printing for your network with papercut; specifically when being used with a chromebook or other desktop based browser client.
1 - When connected to the same network as the printer put in the URL for printing. https://print.yourdomain.ca
2 - Enter in the username and password (this would be the generic account for the user wanting to print)
3 - you will be taken to the “Submit a Job” screen
4 - Press the “Submit a job button and select the printer (in this case say printer_2)
5 - Select you options then and select “Upload Documents”
6 - Select your file (This would be typically in the downloads folder)
7 - Once selected, press “upload and complete”
8 - Once Uploaded the job will sit in the queue, until released by the papercut queue release account.
Papercut queue release account view


