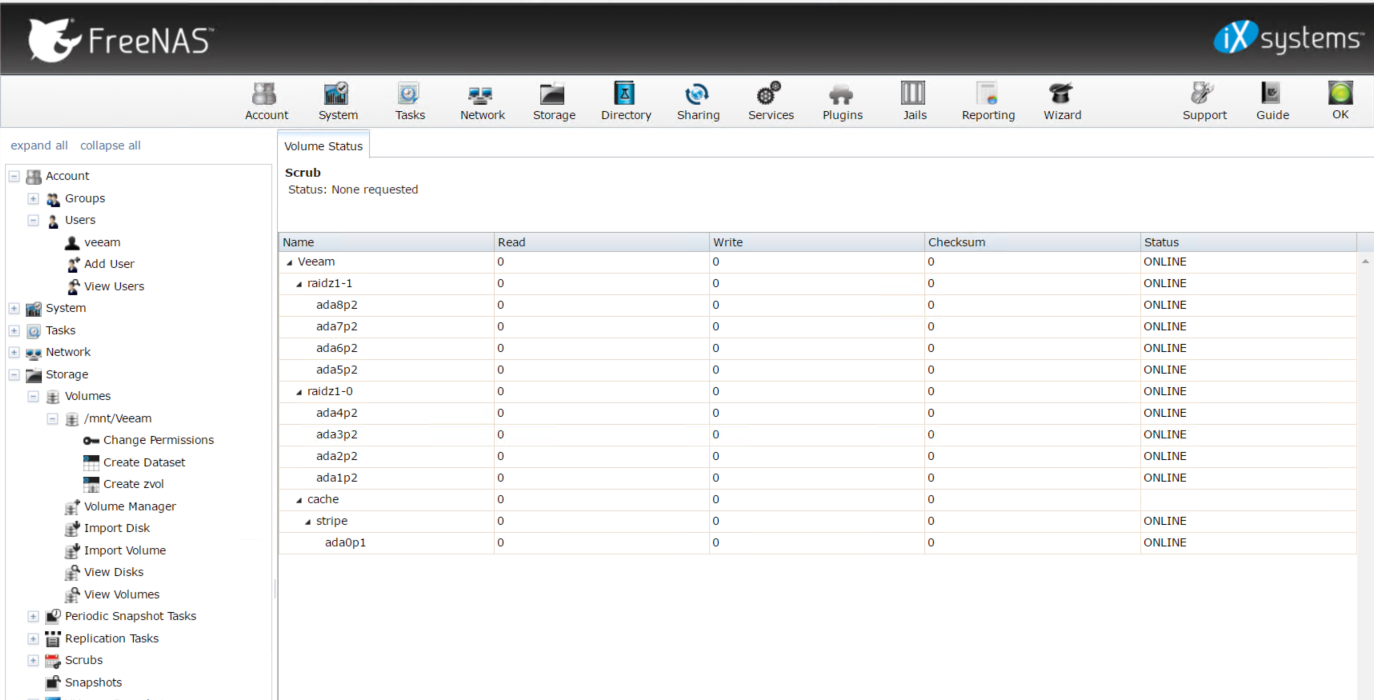
So what I have is an older AMD 945 Phenom 2 with 8GB of Ram. The NAS has a 128GB SSD LARC Cache, and 4x500GB Drives in a RAIDZ and 4X1TB Drives in a RAIDZ. This allows for a Total 2 Disk Redundancy for the ZPOOL or 1 disk per pool.


Now I'm not using an AD for this I have a specific use case however Veeam does have a webinar where if you want you can learn about using Veeam with AD.
Now for this I am going to be using a user called Veeam and for the purposes of this blog post let's say the password is P@ssw0rd! ;) This server is on a isolated network.
So lets create the Veeam user so we can use our SMB Share. I made the user a member of the nobody group.

Now I'm going to give the veeam user exclusive ownership of the main store.
Under Storage -> Volumes -> /mnt/Veeam -> Change Permissions

We want the permission type to be a Windows ACL. If we were to use a DATASET we wouldn't have to make this change but this is a dedicated box. Once that is done go to sharing and map the path to the folder we are going to share. In this case /mnt/Veeam
I added a couple VFS objects that are suppose to help with SMB Connections.
- streams_xattr
- aio_pthread
- acl_tdb
- acl_xattr
- shadow_copy
- shadow_copy_test
- xattr_tdb

Once our path is specified we can then edit our share by going under services -> SMB
I'm using pretty much all the default settings, and am binding the SMB Service to a particular IP on the network range we have restricted access to. I've made the user Veeam the guest account but since we don't have guest accounts enabled it doesn't do anything.


Once all this is configured turn on the service and connect the windows host.

The drive should now mount and you can create and move/delete files. That concludes the FreeNAS part of our setup now we apply the settings to our Veeam Software.
Next we want to add our backup repository. I called this Veeam.
Select Backup Infrastructure -> Right Click and Add Backup Repositiory

Specify a Name for the Backup Repository

Specify the type of Server in this case we want Shared Folder

Fill out all the info required to get access to the share. In our case we need to specify that this share requires credentials and we need to add/modify the account to add our username/password for the share login. For our NAS it is veeam/veeam with the password P@ssw0rd! ;)

This server has spinning drives so we want to make sure everything is optimized for that.

Shows that the share is showing up properly with the amount of disk space.


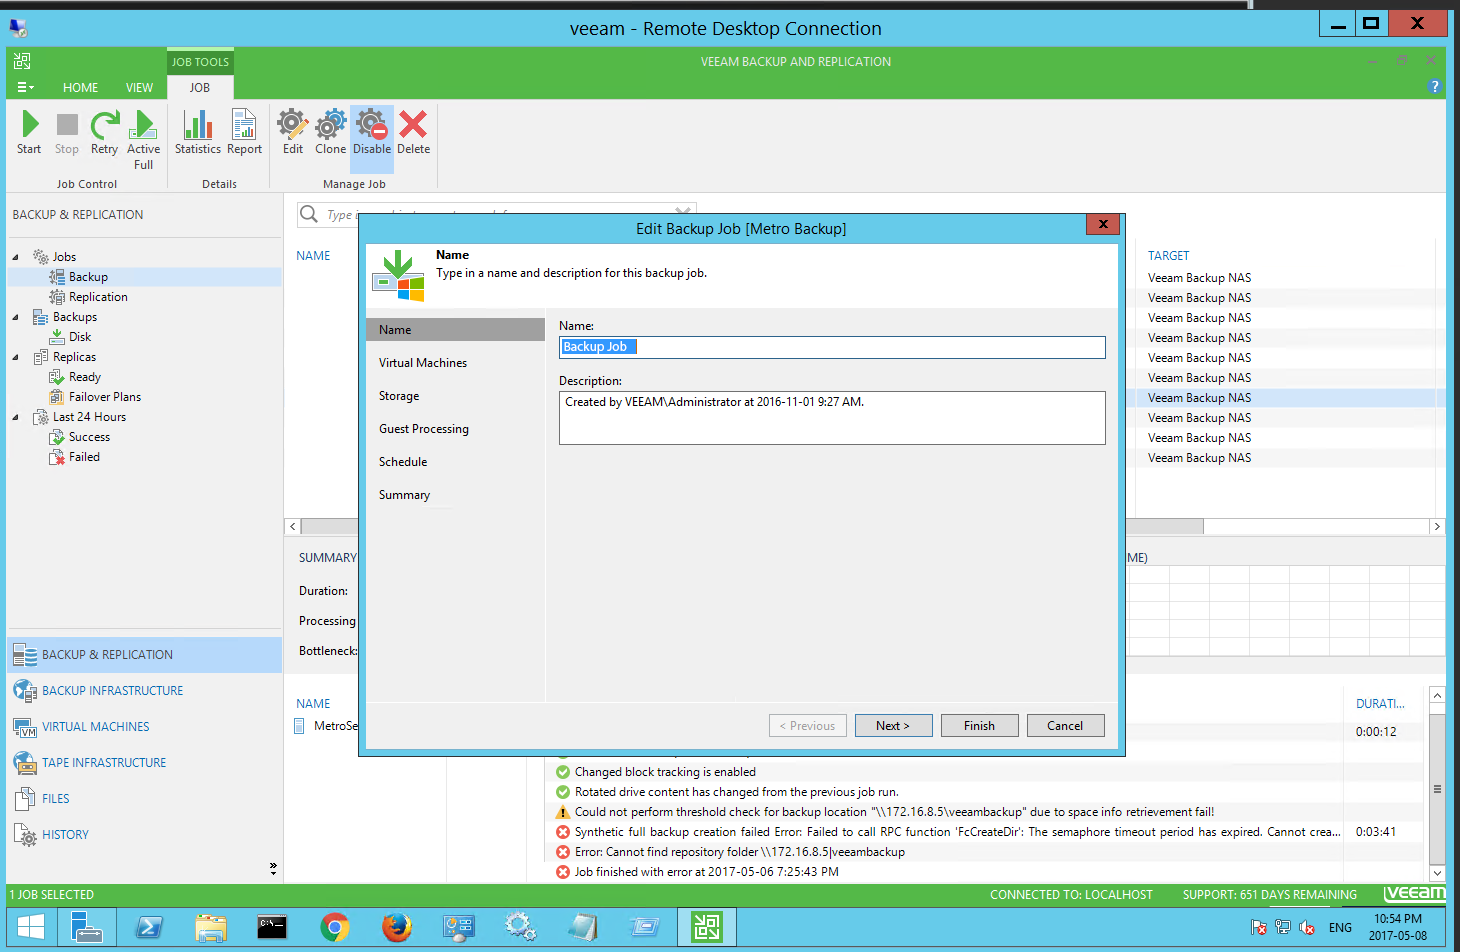
Now that the Backup Repository is added we can now Create a backup job.
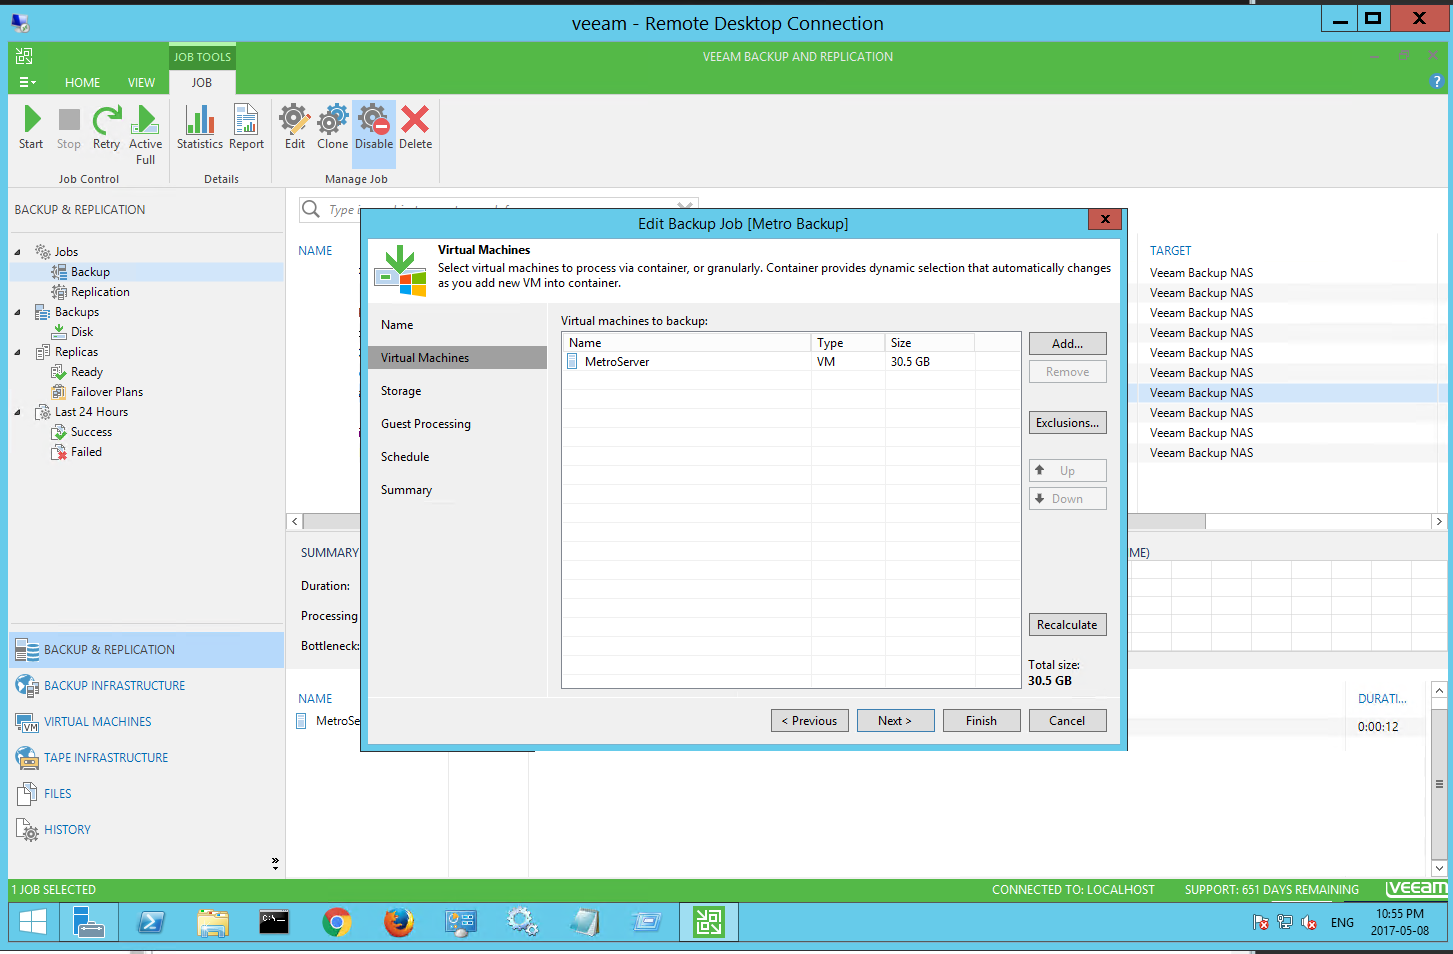
Select the virtual machine(s) we wish to backup.
Select the Backup Repository - In this case the FreeNAS Server we have just setup.

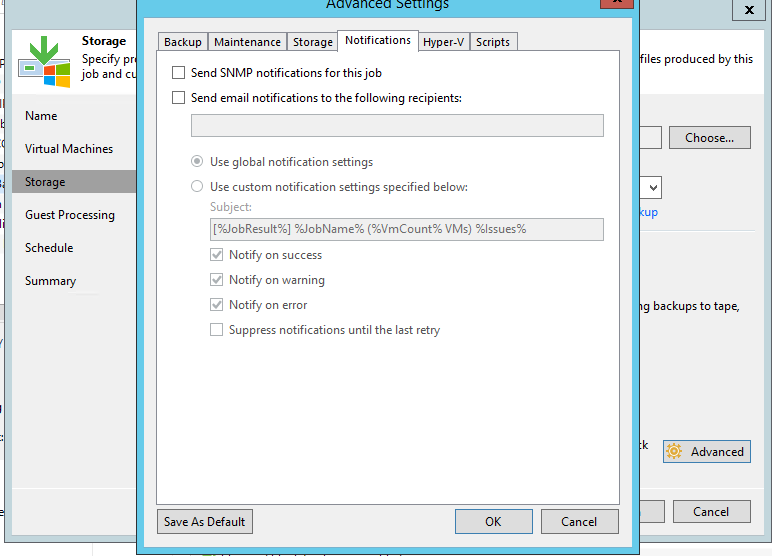
Modify some advanced settings for Dedup and backup verification.


Setup guest aware processing (if possible) so the VM can continue to run while the backup happens.

Define your Schedule if desired

That's it your done. You can run the backup manually on schedule etc. You can also setup email based alerts in both FreeNAS and Veeam to help you keep an eye on your NAS and the backup job status.


