How to use Nexus Font in Windows 10
Download and install nexus font from http://www.xiles.net/ Once installed you will need to get some fonts if you don't have any. You can get free fronts from https://www.fontsquirrel.com/ along with other font sources. You can see the whole how to video on my youtube page.

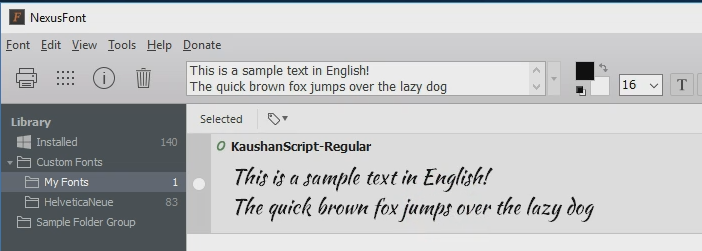
3. When opened Nexus Font will load all the system default Fonts as shown below.

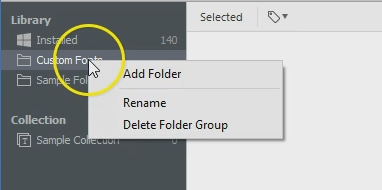
4. Add a “New Folder Group” by right clicking under the Library Heading and name your group I called mine “Custom Fonts” and hit OK

5. After you have added your collection your Library will look like this.

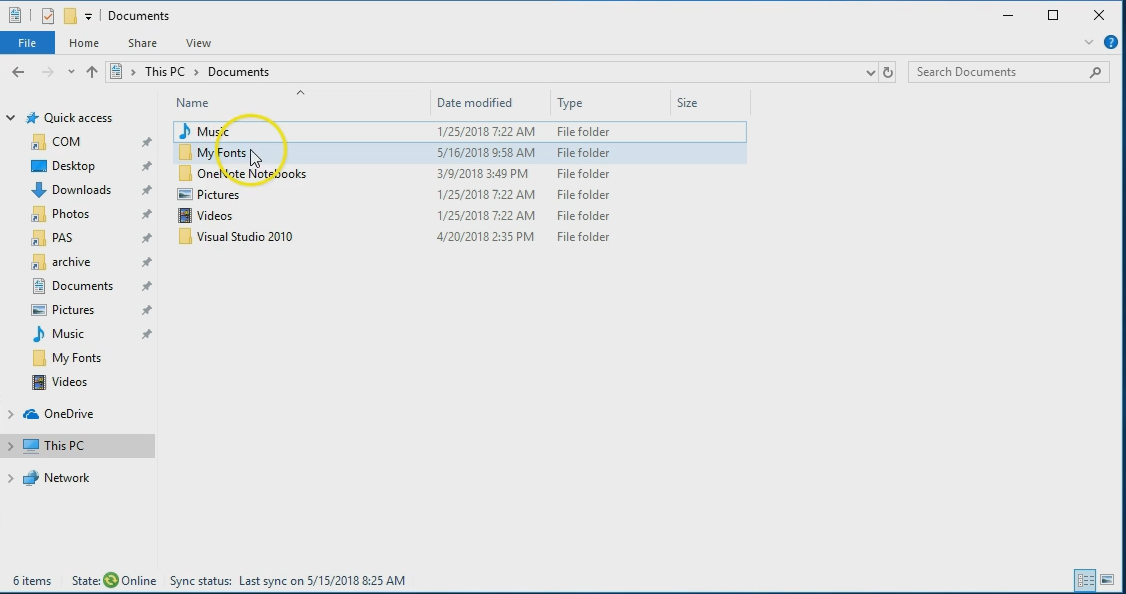
6.Now you will want to add a Folder to your Folder Group by right clicking on the Custom Fonts Group and select “Add Folder” then browse to your “My Fonts” folder in your documents
7. If you have any fonts in subfolders in your “My Fonts” directory they will not load. You have to add the fonts folders separately repeating step 4 but browse to the fonts directory you want to load. In this case HelveticaNeue

9. You will need to relaunch Nexus font everytime to activate your custom fonts for your programs so make sure your run it first before launching any programs you might need your custom fonts for.


