This is a short step by step how to for replacing a failing or failed disk in FreeNAS. You can watch the video by clicking this link https://youtu.be/iqOoSMfc4zA. I highly recommend that if you have or are building a FreeNAS box that you label the side of your case or your disk with what the connections are on the case or on the drive and have either a printed sheet or digital sheet for you to reference serial numbers etc. You will find it much easier if you have to replace drives or expand your disk space.
Example:
FreeNAS Backup Server (for veeam)
Storage Set NAME: Veeam
RAIDZ-1 1TB (1 disk redundancy)
| ada8 | WD-WCASY7587960 | ||
| ada7 | 9QM0L71W | ||
| ada6 | WD-WMAYP0063026 | ||
| ada5 | WD-WMASY4174721 | ||
RAIDZ-1 500TB (1 disk redundancy)
| ada4 | Z1D6XQFP | ||
| ada3 | Z1D6XZVF | ||
| ada2 | W381A8JK | ||
| ada1 | Z1D6XZWS | ||
Cache
stripe
ada0 (L2ARC) SN: 00000000120809072D13
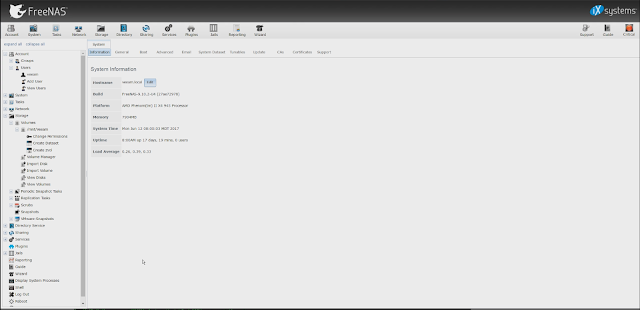
If you note the image on the bottom the right hand corner of the image as a little status light with the text underneath it saying critical.
 |
| Status notification on the top right. Looks like a light. |
Pressing on the light will let you know what FreeNAS is complaining about in this case we have a drive (ada7) with unreadable sectors
 |
| FreeNAS alert - Drive ADA7 has unreadable sectors |
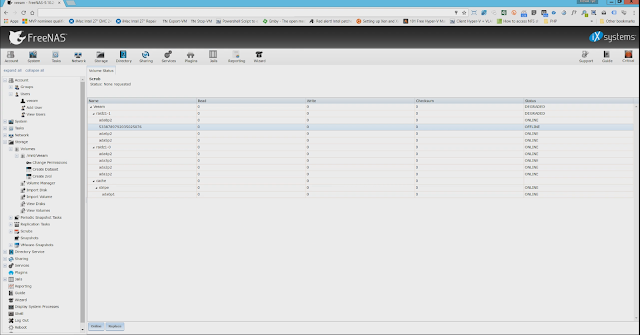
Go to Storage -> Volumes -> Select the top most Volume and on the bottom press the Volume Status Button.
 |
| Press the Volume Status on the Bottom after selecting the top most volume |
Select the drive ADA7 from the list of drives. In this case we have what is two ZRAID1 vDevs which gives us a 1 disk redundancy out of the 4 drives much like a RAID5. Select the failed or failing drive and press the offline button.
 |
| Select the failing drive and offline the drive |
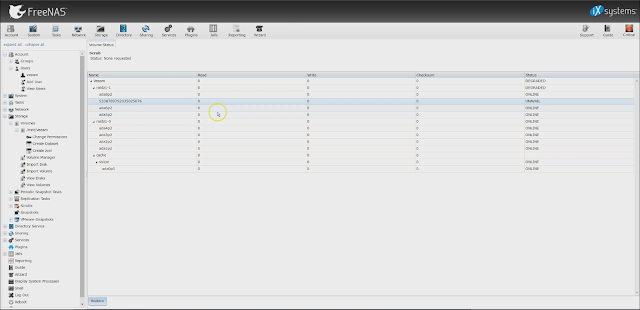
We know from our documentation that ada7 is serial number 9Qm0L71W. If you don't have the serial number you can find it by going Storage -> View Disks. Once the disk has been taken offline shutdown and replace the disk.
 |
| What an offline drive looks like |
When replacing the drive it is best practice to format the drive before you put the disk into the NAS. You can format the drive when you put it in the NAS but it is easier and faster to do it ahead of time.
Once the new drive is in the NAS, log back in and go back to Volume Status.
Storage -> Select the Top Most Volume Name in this case Veeam -> Press the Button Volume Status. Then select the offline drive and press the replace button.
 |
| When the disk is replace you no longer get the online button as you see in the image before this one. |
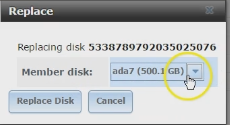
When you hit the replace button you will see a screen like this. If you are replacing multiple drives at once be careful with which node your replace with which disk as you may mix them up which is why we have the disk location (ada) and serial number which we reference in our documentation.
 |
| Replace offline disk with new disk |
It will take a few minutes for the drive to be replaced and then it will be a few hours to about a day to get your data resilvered. It depends on the size of the drive and how much DATA you have.


